2025 Facebook (FB) Registration Guide – Tested & Valid
Facebook, as one of the largest social media platforms in the world, attracts countless users to register and use it. However, due to technical restrictions imposed by domestic telecommunications network operators, the number of Facebook users in China has always been relatively low compared to other regions. Many people feel unfamiliar with the entire process when registering a Facebook account for the first time, and even encounter various confusions. To help these first-time Facebook users, this article will provide a step-by-step demonstration of the registration process to ensure that every reader can successfully create an account. Facebook has a broad user base. Similar to Instagram, it includes not only Cross-Border E-Commerce Websites and Foreign Trade Websites operators who aim to carry out marketing through international social platforms, but also individuals who are simply interested in accessing more overseas information. Whether for business purposes or personal social needs, mastering the correct method of Facebook account registration is the first step to starting a globalized social experience.
This article, “Facebook Account Registration Tutorial (2025 FB Account Application Method, Tested and Valid)”, continues the style of the blogger’s previously published tutorials on Instagram Account Registration and Gmail Account Registration, striving to provide the most detailed and clear step-by-step guide. To meet the needs of different users, this article will introduce the methods for registering a Facebook account on both desktop and mobile devices, ensuring that users can successfully complete the registration process and begin their Facebook journey, regardless of which device they are using.
To help readers quickly find the information they need, the blogger has carefully organized the table of contents for this tutorial, covering registration methods for different devices. Readers can click on the corresponding anchor links in the table of contents to jump directly to the relevant section, following the steps outlined to complete the Facebook account registration process. The table of contents for "Facebook Registration Tutorial (2025 FB Account Registration Method, Tested and Valid)" is as follows:
- How to Register a Facebook Account on Desktop
- Step 1: Visit the Facebook login and registration page
- Step 2: Fill in the new Facebook account information
- Step 3: Enter the Facebook verification code sent to your registration email
- Step 4: Facebook successful registration notification
- Step 5: The homepage interface after Facebook account registration is complete
- How to Register a Facebook Account on Mobile
- Step 1: Install the Facebook app on your phone
- Step 2: Create a new account in the Facebook app's login and registration interface
- Step 3: Facebook's welcome prompt
- Step 4: Enter the user’s name for creating a new Facebook account
- Step 5: Fill in the user’s date of birth for creating a Facebook account
- Step 6: Select the user’s gender for the Facebook account
- Step 7: Choose the type of registration information (phone number or email)
- Step 8: Fill in the email address for Facebook registration
- Step 9: Create a password for the Facebook account
- Step 10: Enter the Facebook verification code received in your registration email
- Step 11: Add a Facebook account profile picture
- Step 12: Facebook contact upload function
- Step 13: Recommended Facebook friends from your phone contacts
- Step 14: Add a phone number to your Facebook account
- Step 15: Facebook account notification settings
- Step 16: Facebook account registration complete
- Step 17: Facebook app account usage interface
Ⅰ、How to Register a Facebook Account on Desktop
1、Step 1: Visit the Facebook login and registration page
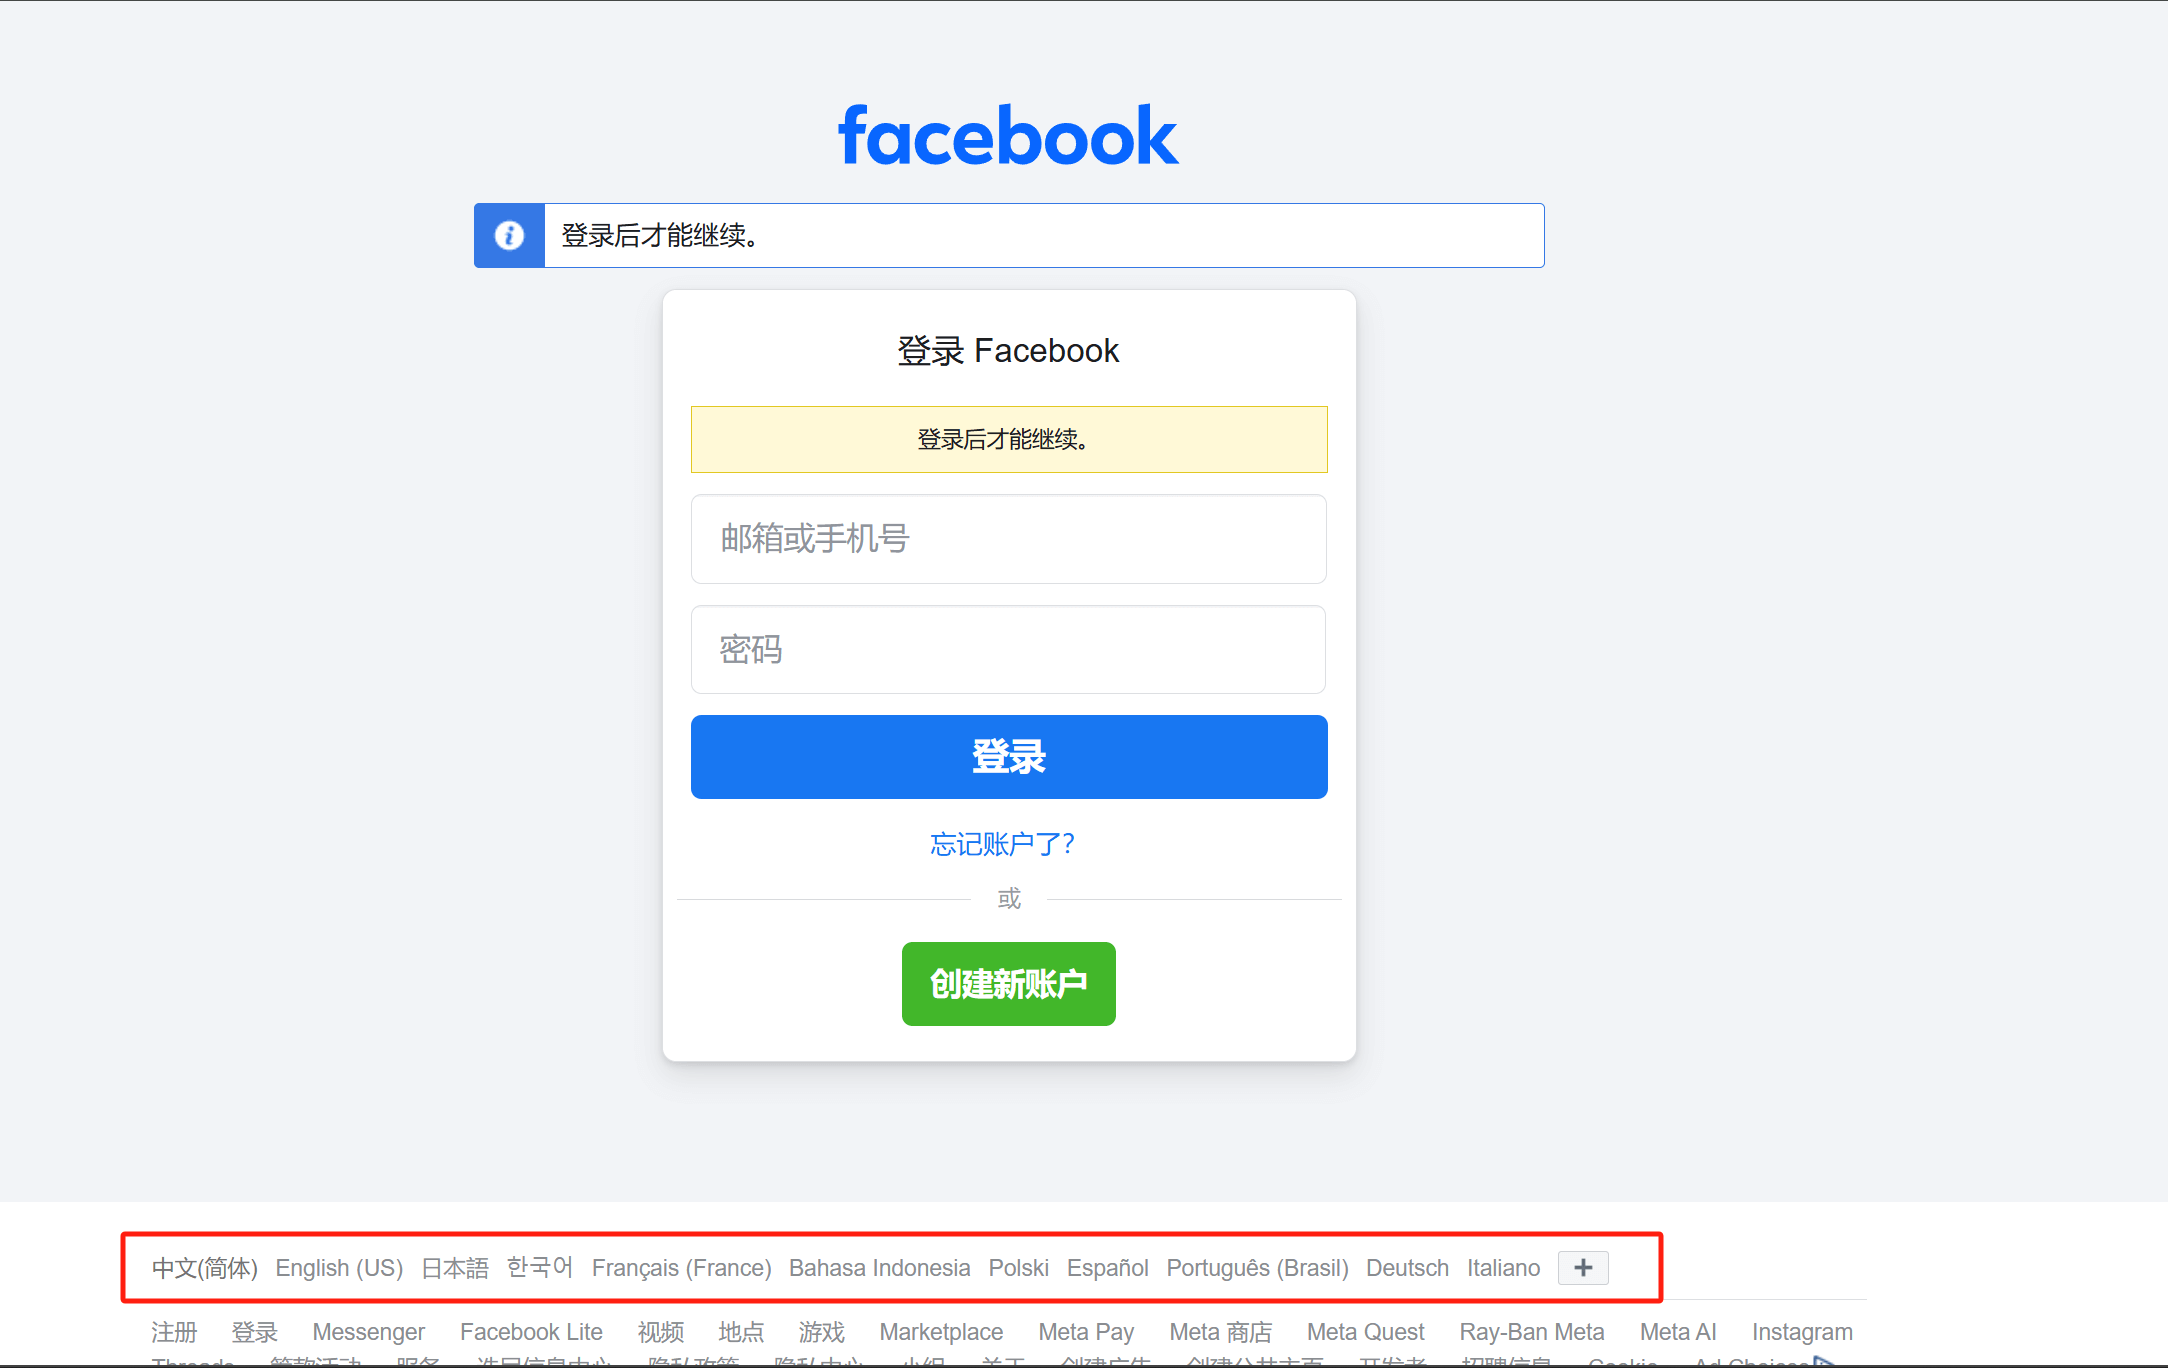
Activate a browsing tool with strong security features (Global Mode) and visit the Facebook Login and Registration Page. As shown in the image above, you can proceed to the next step of creating a new Facebook account by clicking the “Create New Account” button on the page. It is important to point out that, as highlighted by the red box in the image above, there is a convenient language switch function on the Facebook registration page. If the proxy country/region selected in your browsing tool uses a language other than Chinese, the display language of Facebook’s login and registration page may automatically change based on the language of the proxy country/region. In that case, you can use the language switch bar marked in red to select Chinese, which will help avoid any inconvenience caused by language differences on the interface.
2、Step 2: Fill in the new Facebook account information
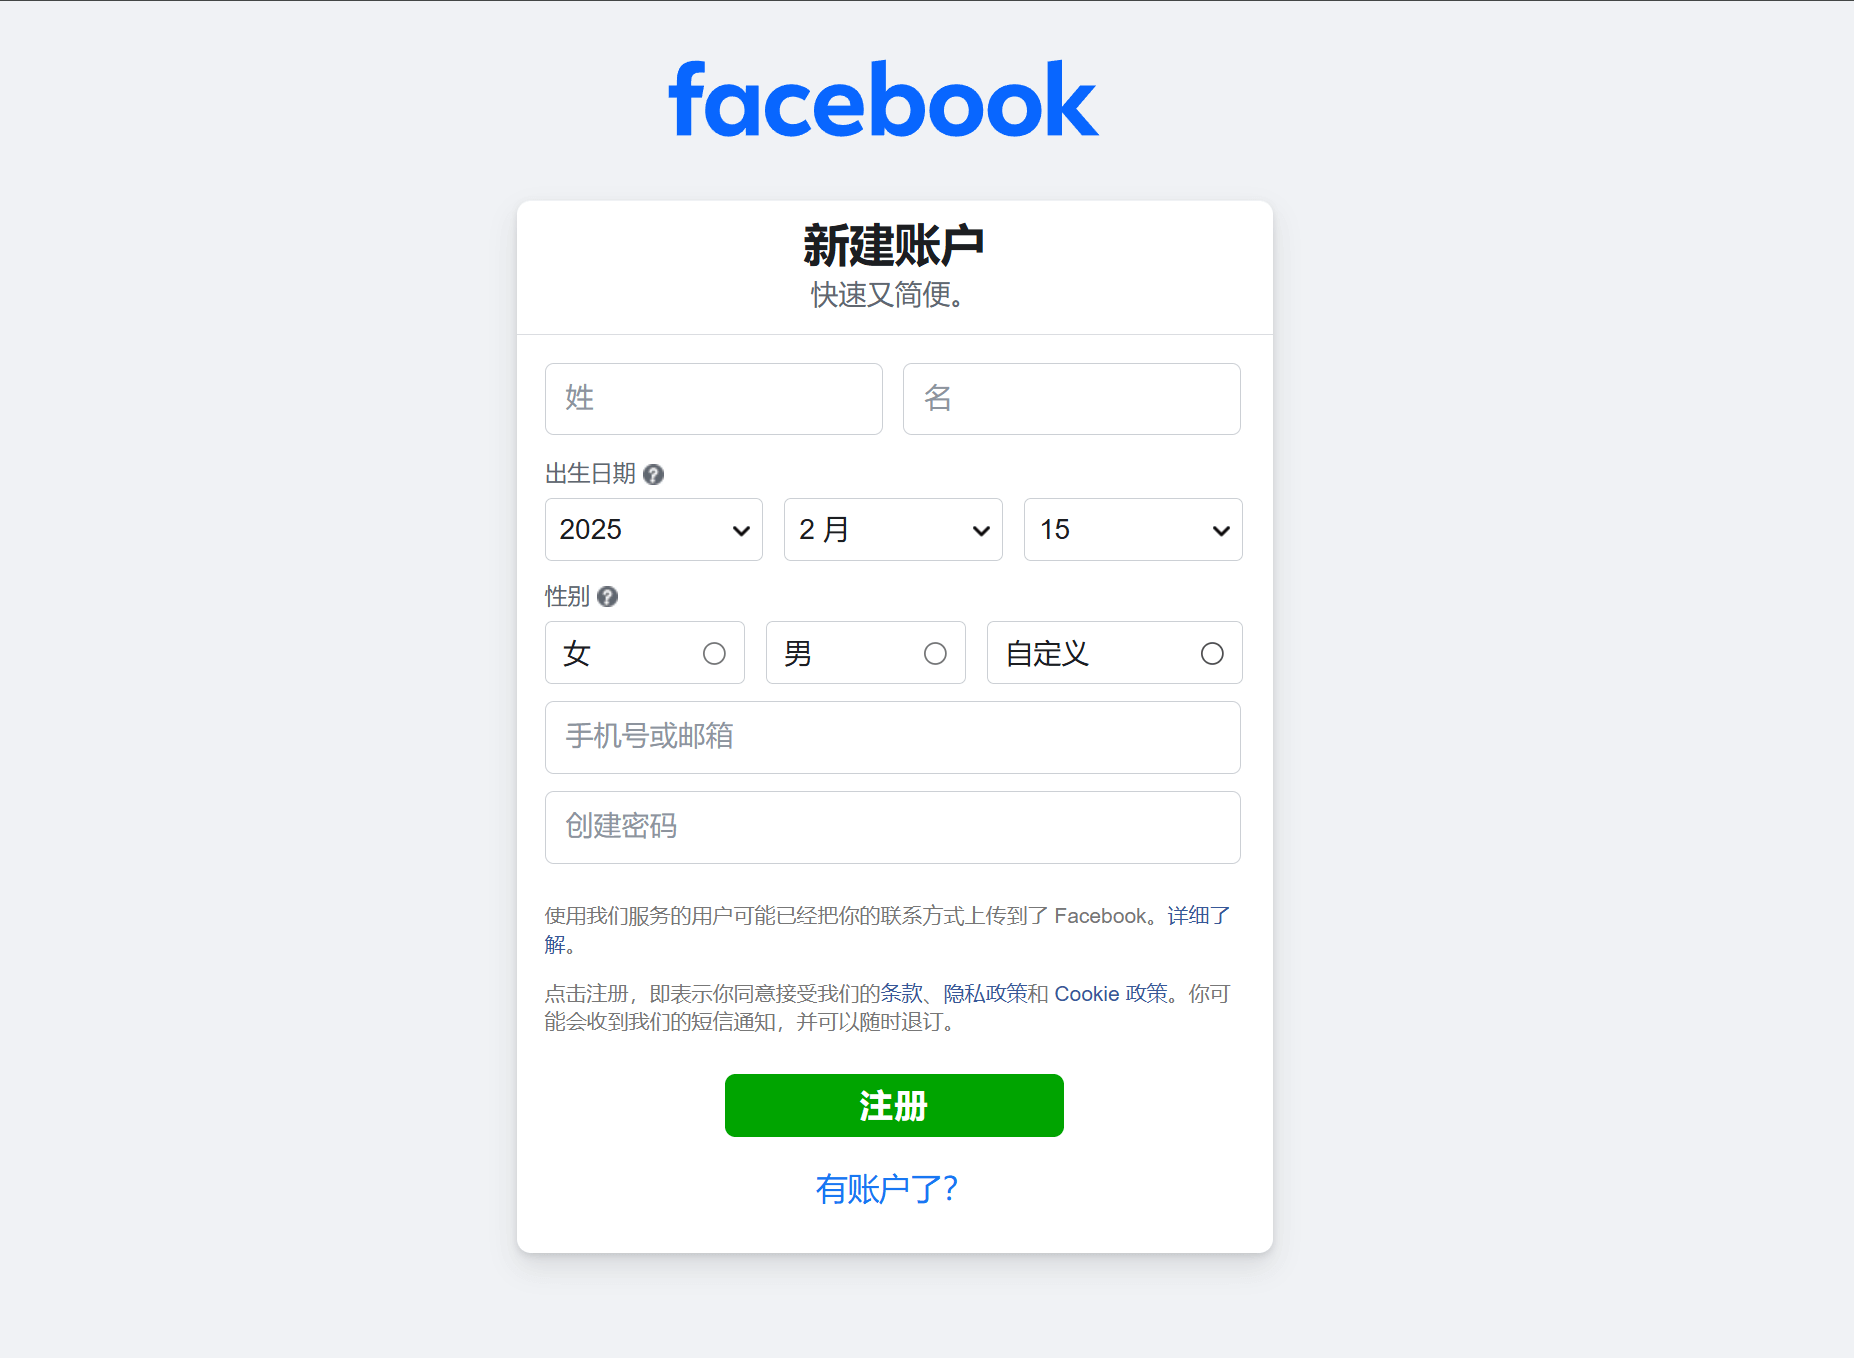
As shown in the image above, fill in the required Facebook registration information on the first screen of the Facebook registration process. This information includes your name, date of birth, mobile number or email address, and a password (which will be the login password for your account). The mobile number or email address you enter here will serve as your Facebook login username. You can register using either a phone number or an email address, but the blogger would like to highlight a few important points. First, it is recommended to register a Facebook account using an email address instead of a phone number. Second, do not use email addresses provided by domestic Chinese email service providers, such as QQ Mail, 163 Mail, Alibaba Cloud Mail, and Huawei Mail, as well as all other domestic email providers. The reason is that phone numbers and domestic email addresses may not reliably receive Facebook verification codes and could pose potential security risks. The blogger won’t go into further details here, but readers are encouraged to reason and explore the reasons themselves if interested. As for the date of birth, gender, and password, just fill them in normally. Once all the required registration information is completed in the form above, click the “Sign Up” button to proceed to the next step.
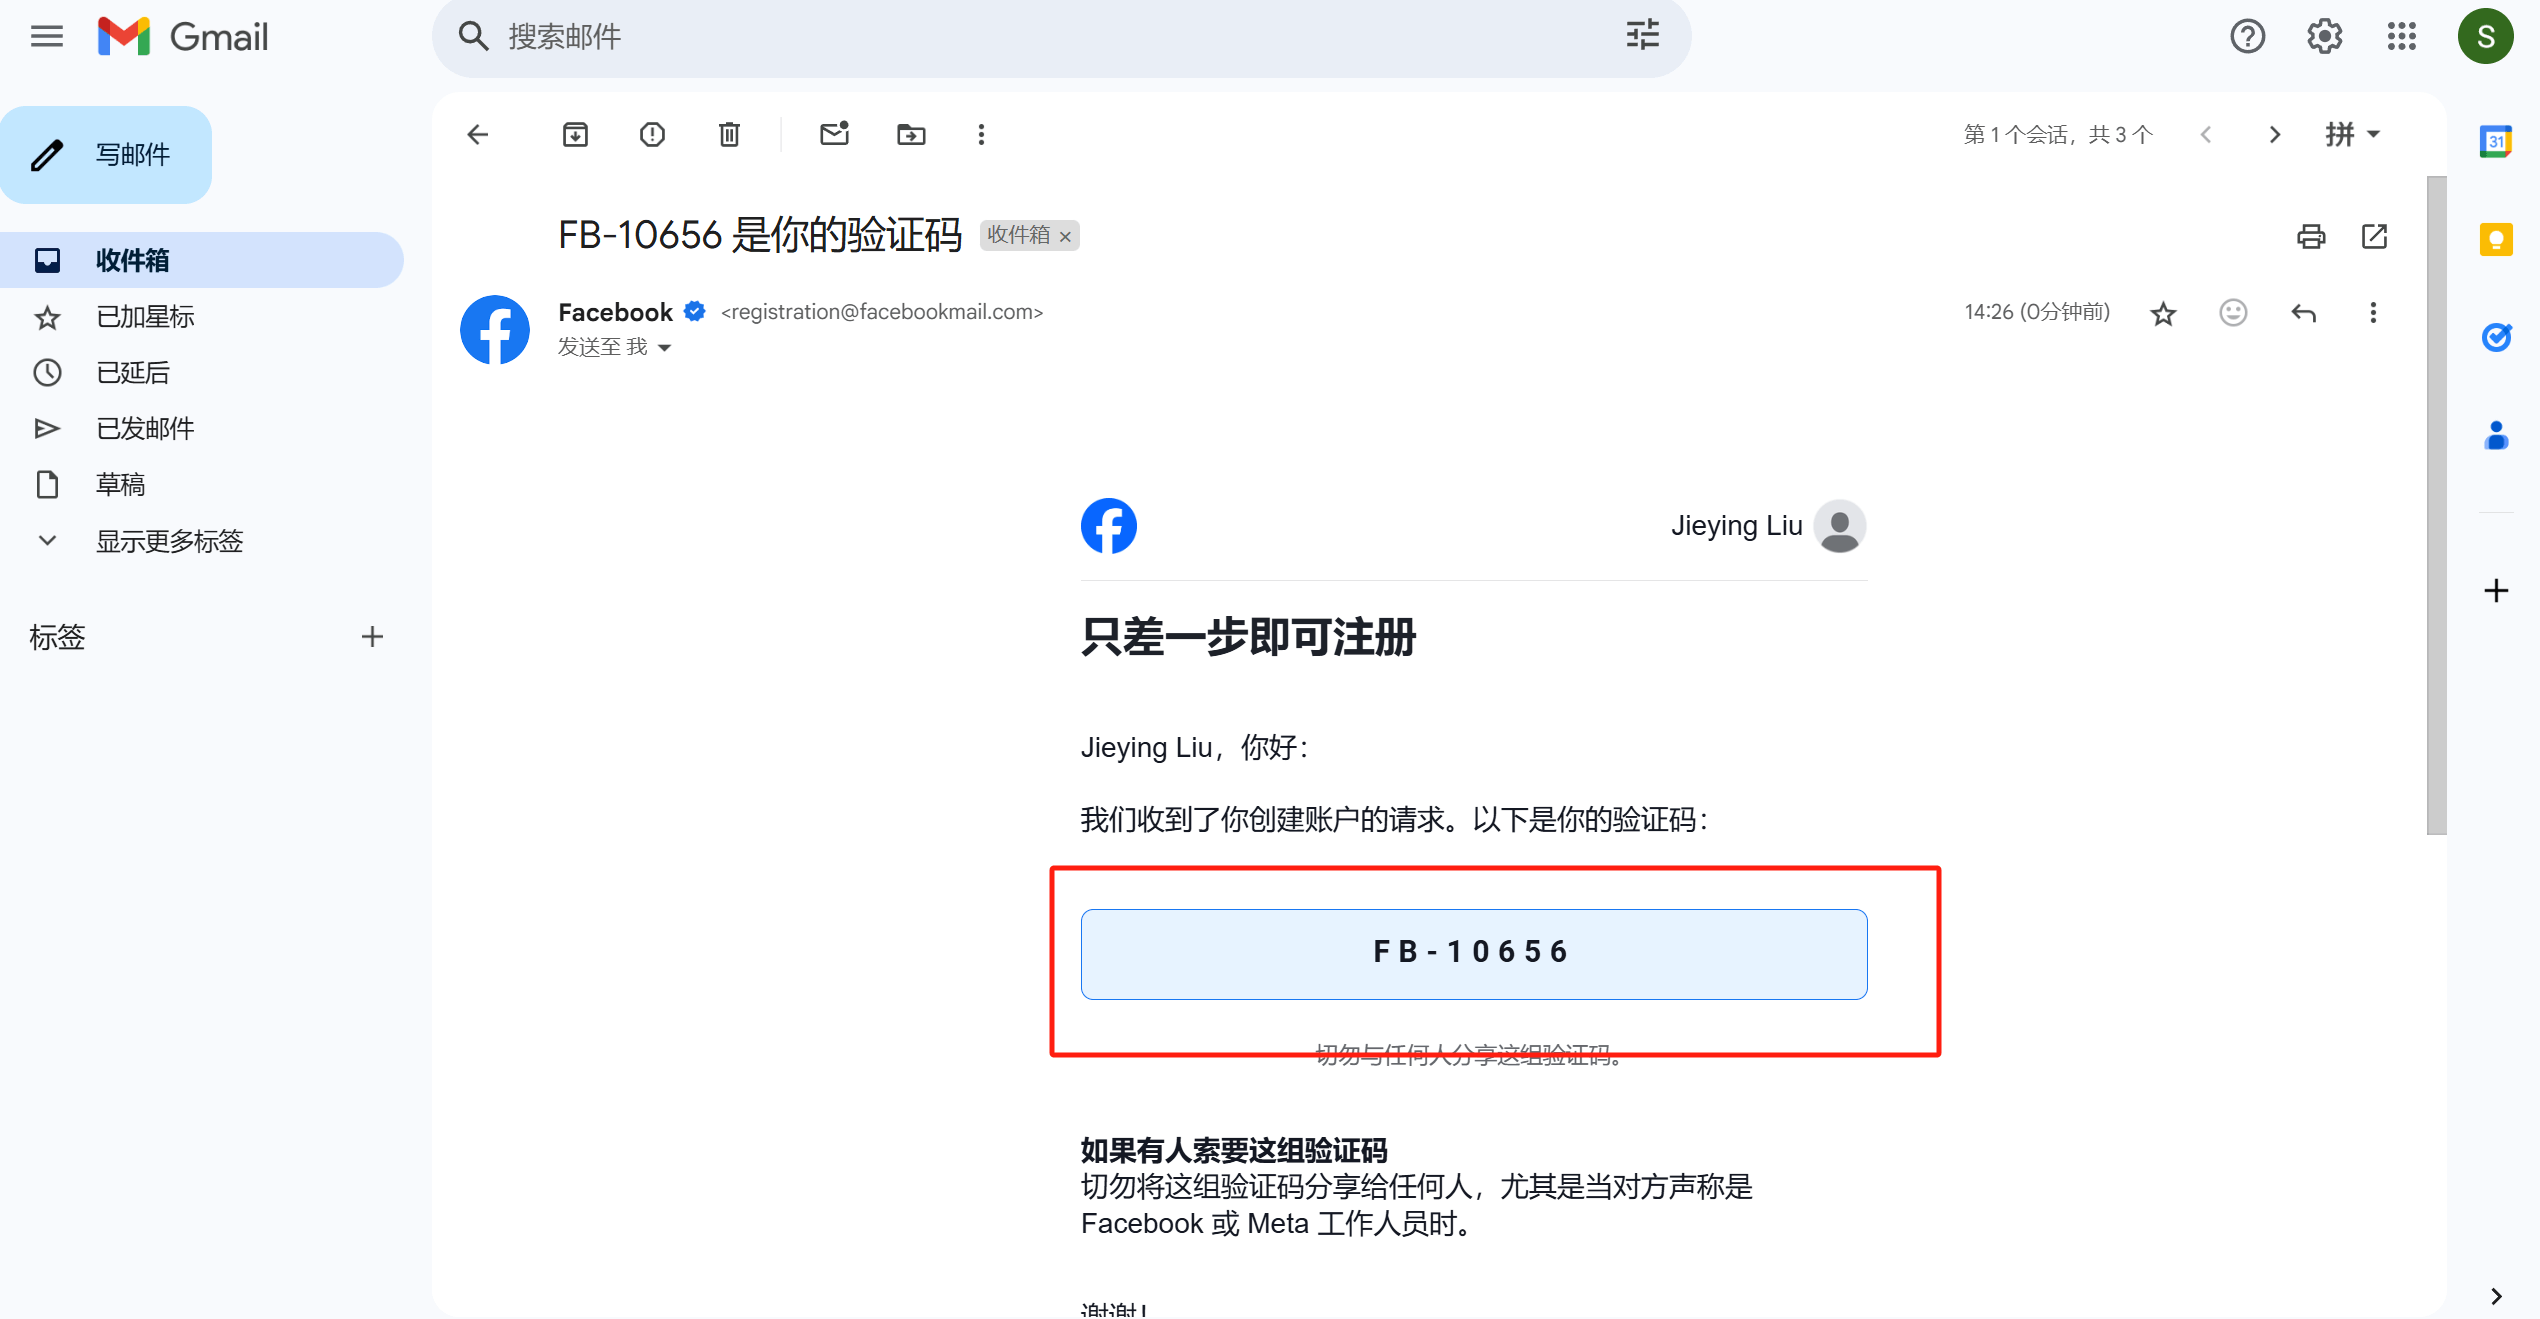
3、Step 3: Enter the Facebook verification code sent to your registration email
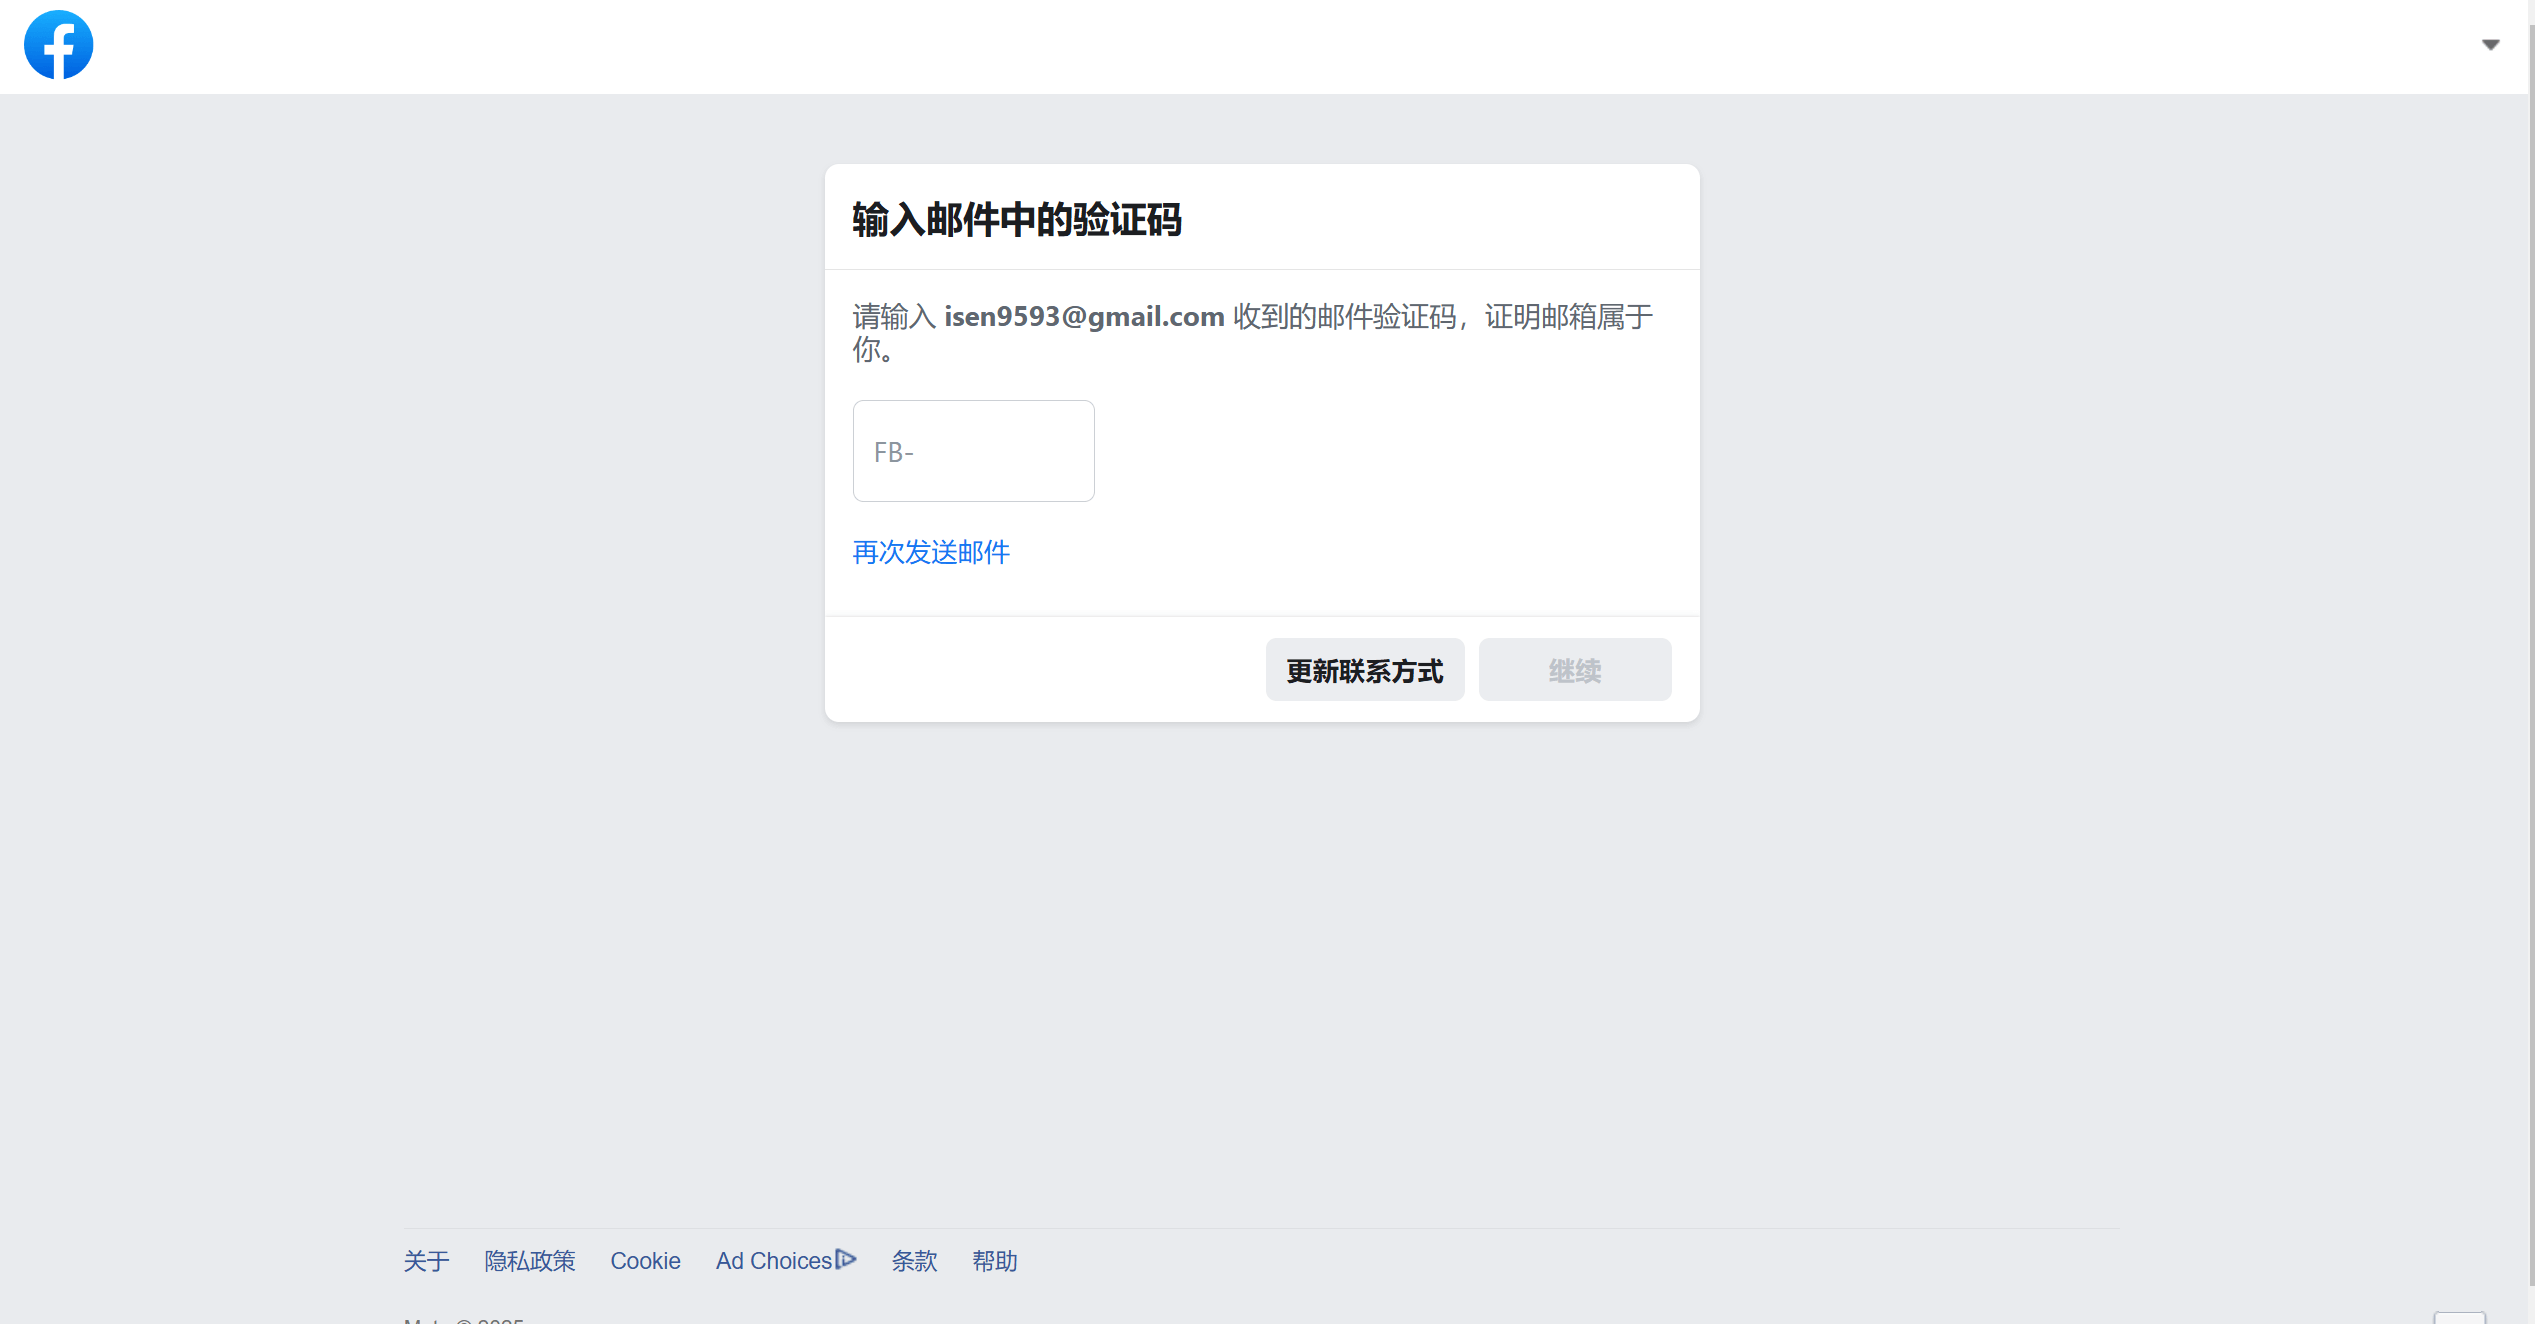
Log in to the email address used for Facebook registration in the previous step and check the verification email sent by Facebook. The verification email from Facebook is shown in the image below. Simply copy the verification code from the email and paste it into the "Enter email verification code" input box as shown in the image. After entering the verification code, the "Continue" button at the bottom right will be activated and clickable. Click the "Continue" button, and if the verification code is correct, the process of registering a Facebook account using a computer will be successfully completed.
4、Step 4: Facebook successful registration notification
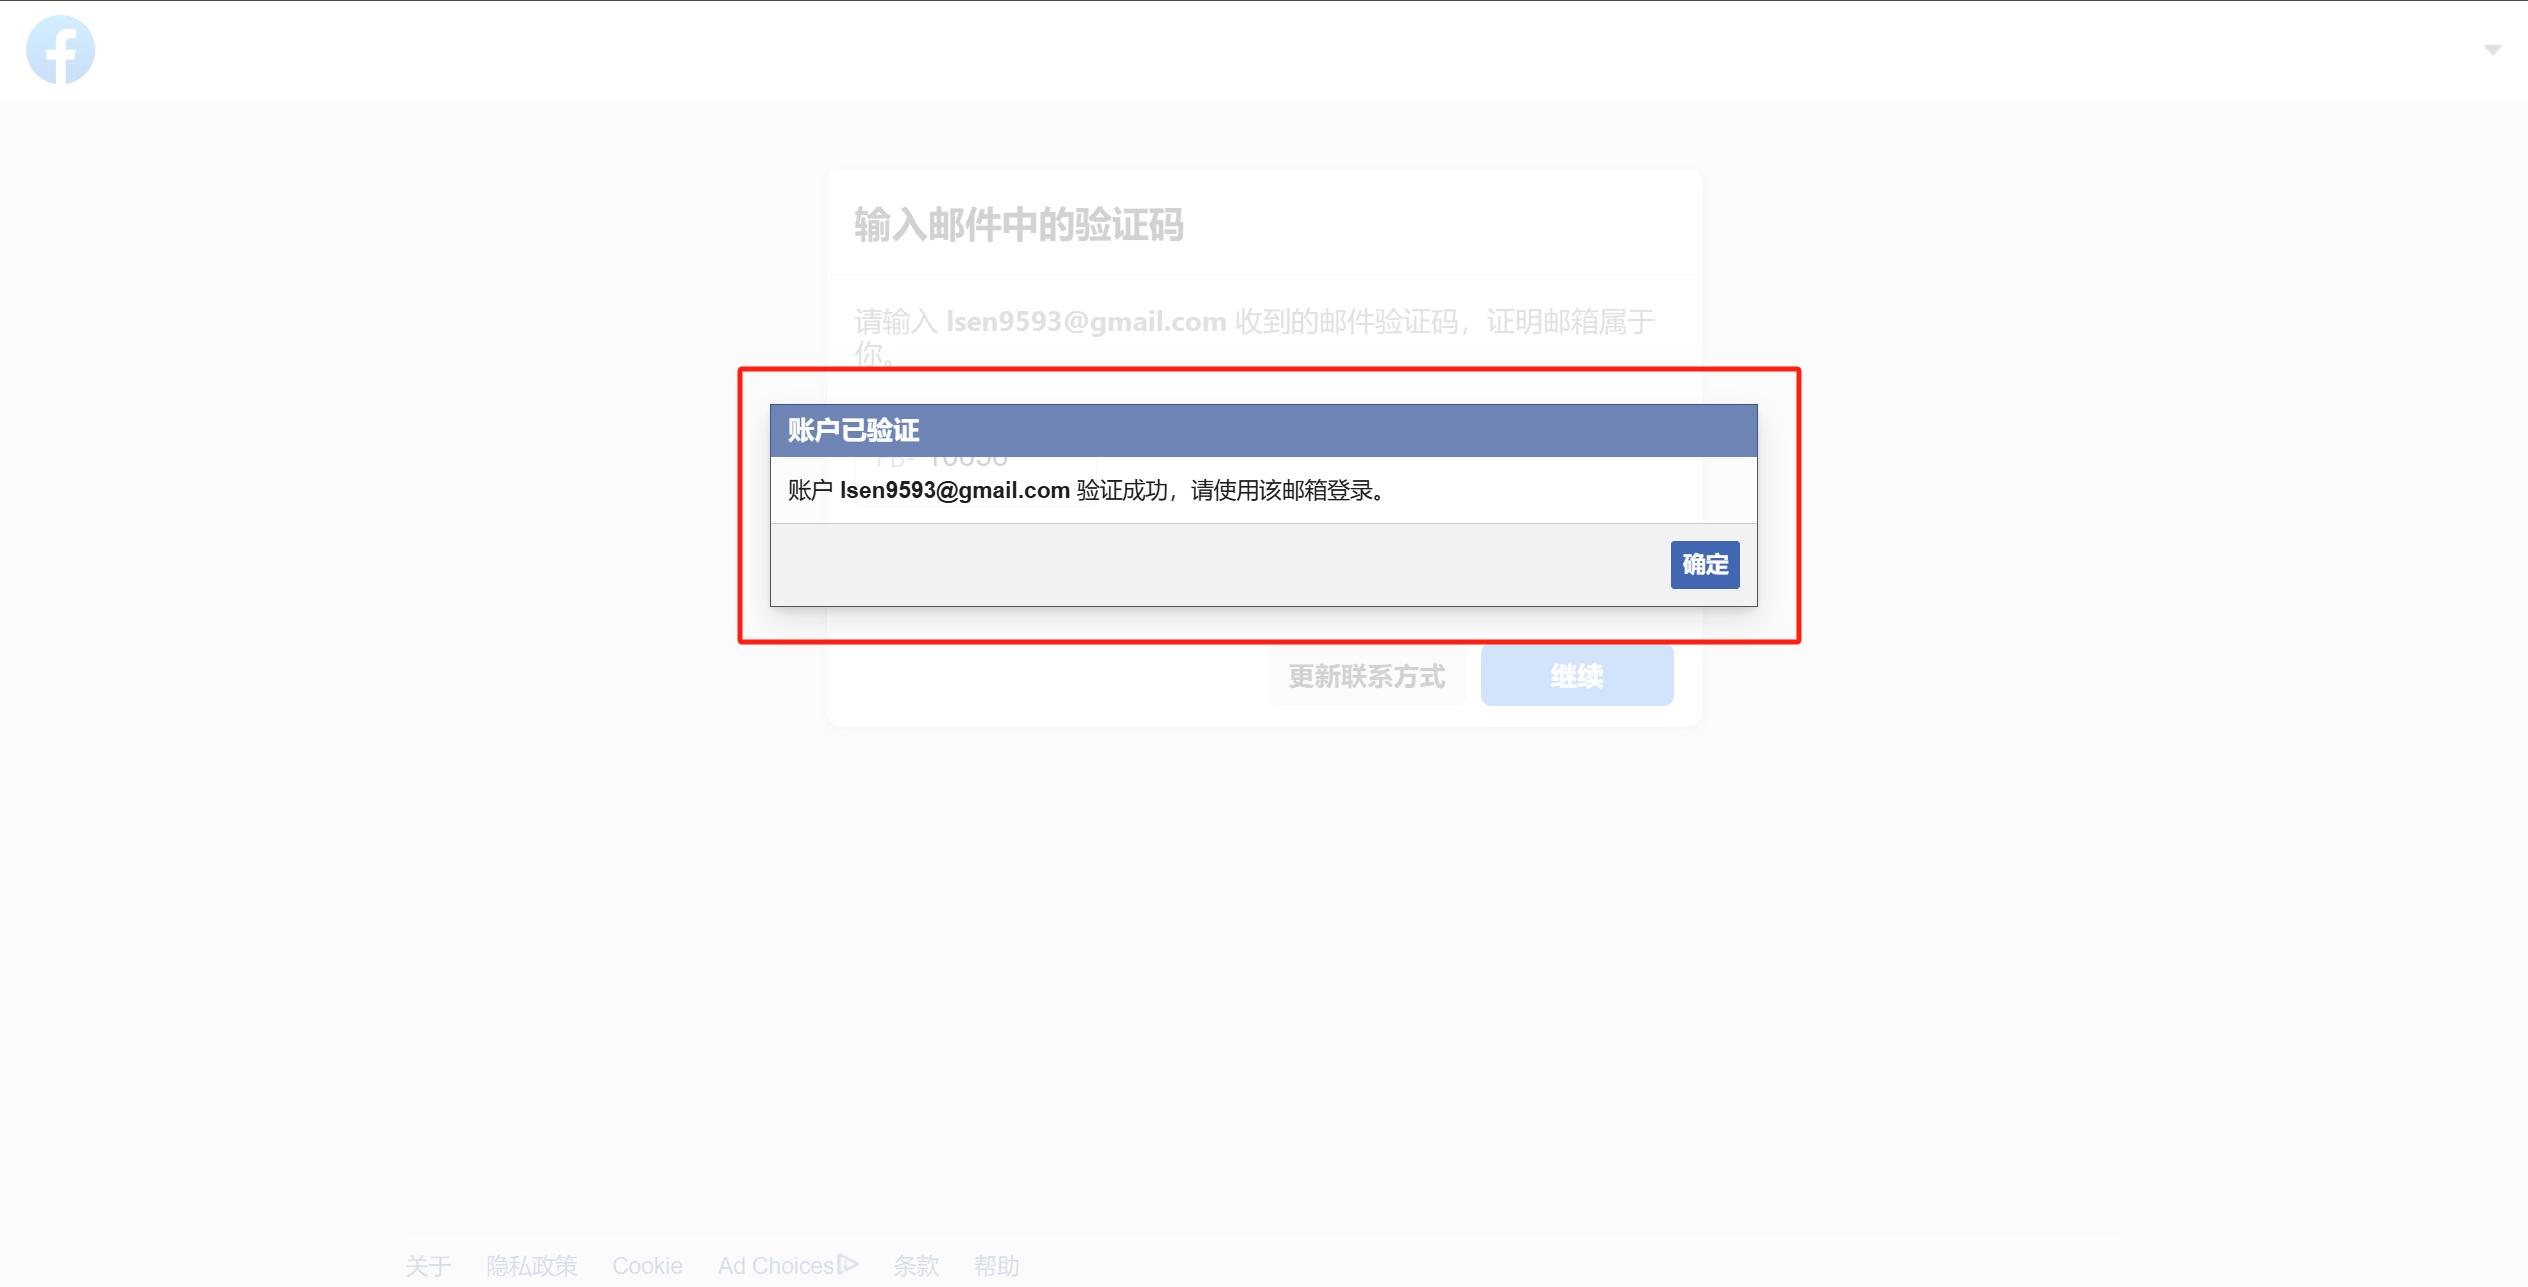
After the Facebook registration verification code is successfully validated by the system, the computer registration page will display a message like the one shown in the image: "Account xxx verification successful, please log in with this email." This indicates that we have successfully completed the registration of the Facebook account. Click the "OK" button in the prompt box, and under normal circumstances, the page will redirect to the homepage of the Facebook account we registered. If the page does not automatically redirect, we will be automatically logged into the Facebook account's homepage the next time we log in.
5、Step 5: The homepage interface after Facebook account registration is complete
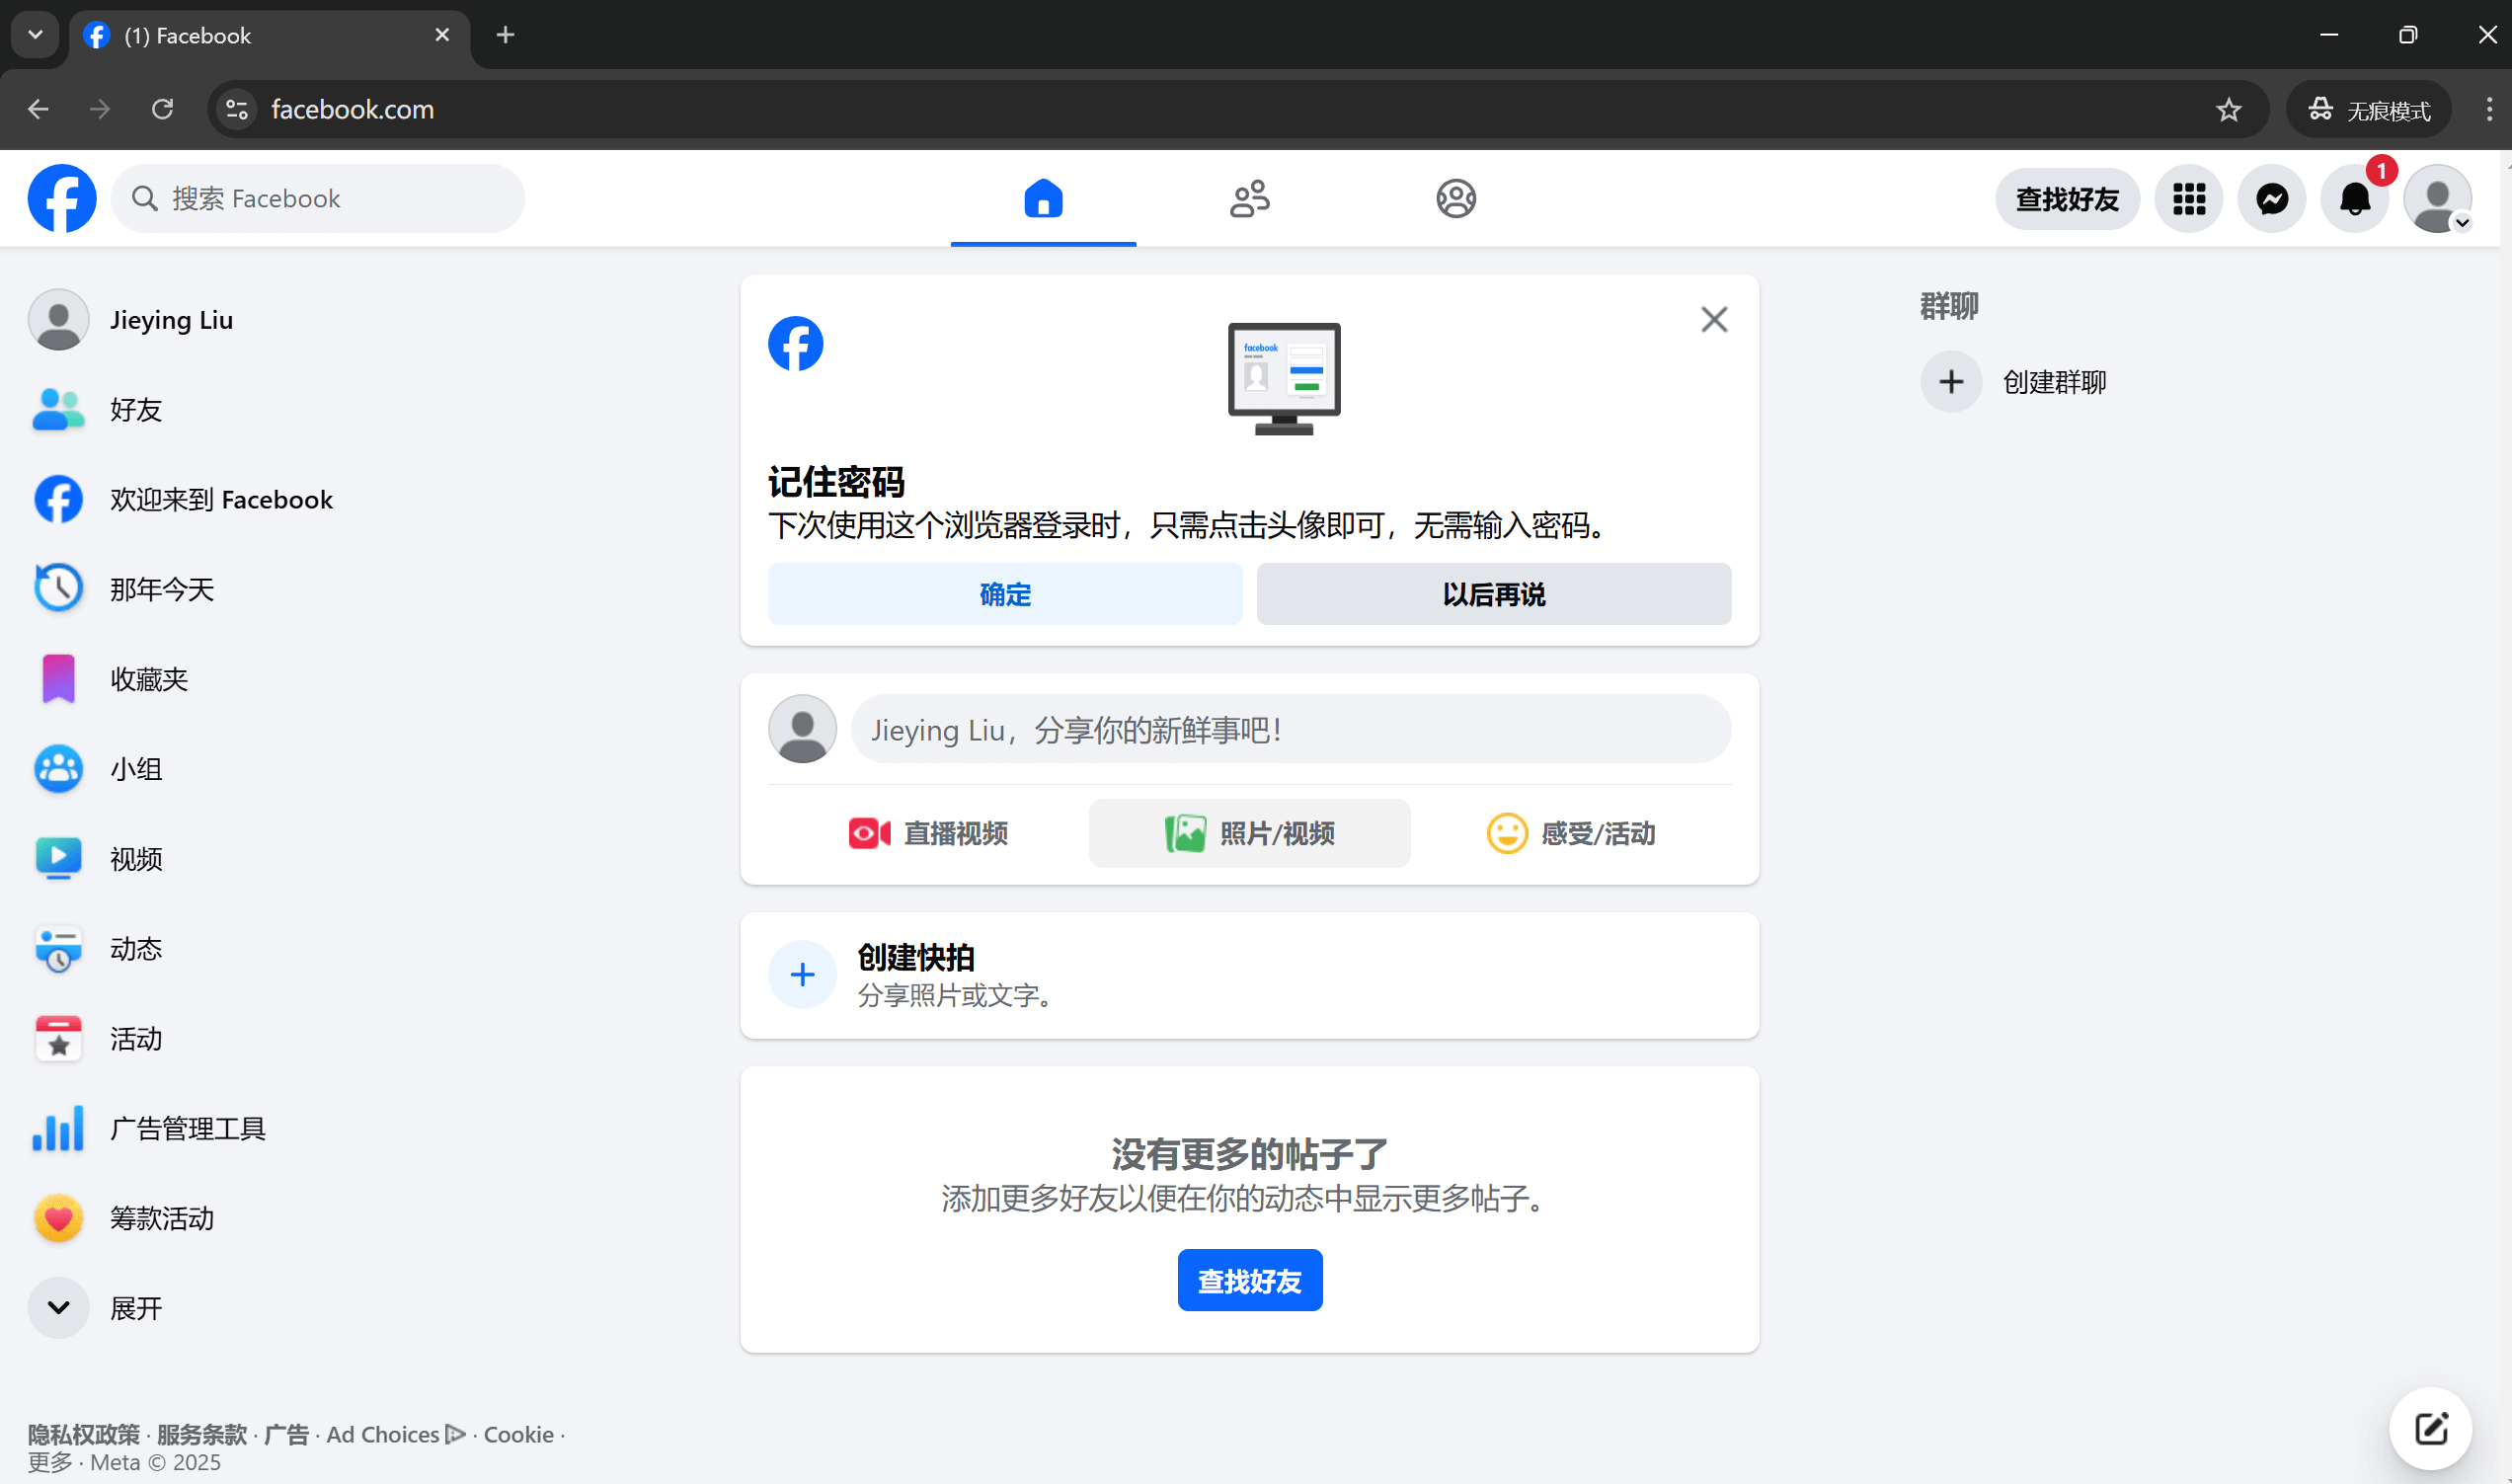
In the image above, we can see that after the Facebook account is successfully registered, the user will be automatically logged in and directed to the homepage. This page displays the various features and options Facebook provides for the user. At this point, we have completed all the steps to register a Facebook account on a computer. From here, users can further familiarize themselves with and explore the rich features offered by the Facebook platform. For example, the left sidebar contains many management tools, each serving different functions. Users can click and try out these tools to understand how they help manage their profiles, view notifications, manage friends, and set privacy options. Additionally, Facebook's services extend beyond social interaction, covering areas such as news, advertising, and community management. Whether browsing updates, posting statuses, or participating in group discussions, Facebook's features offer users a comprehensive social experience.
Ⅱ、How to Register a Facebook Account on Mobile
1、Step 1: Install the Facebook app on your phone

Before registering a Facebook account on your mobile device, you must first ensure that the Facebook app has been installed on your phone. For iPhone users, you can download and install the Facebook app via the iOS system's App Store. However, it is important to note that due to policy restrictions in mainland China, the Apple App Store requires a non-mainland China Apple ID to successfully download the app. This is because Apple separates user data from mainland China and global users, storing them on different servers. When using a mainland China Apple ID, users can only access app data stored on Apple’s servers located in Guizhou Province, China, and are unable to connect to global app data. International apps like Facebook, Instagram, Gmail, and YouTube do not offer services on servers within China. Therefore, only by using an Apple ID from outside mainland China can users connect to Apple data centers located in other parts of the world to download and install these apps.
For Android phone users, you must first ensure that Google Play (Google's app store) is installed on your device. On Google Play, users can log in using a Gmail account, then search for the Facebook app to download and install it. However, all of the above operations require that the phone is properly connected to the international network and that the proxy tool being used performs well, in order to ensure a smooth download process. This is because Google Play and other international app stores rely on a stable international network environment to deliver their services. Only under such network conditions can users successfully install the Facebook app and proceed smoothly with the subsequent registration and login steps.
2、Step 2: Create a new account in the Facebook app's login and registration interface

As shown in the image above, after opening the Facebook app on the phone, the login and registration screen will appear. On this screen, click the "Create New Account" button to begin the process of registering a Facebook account using a mobile device.
3、Step 3: Facebook's welcome prompt

This step is to create a new Facebook account, with a friendly prompt from the Facebook app. No special settings are required, simply click the "Get Started" button to proceed to the next step.
4、Step 4: Enter the user’s name for creating a new Facebook account
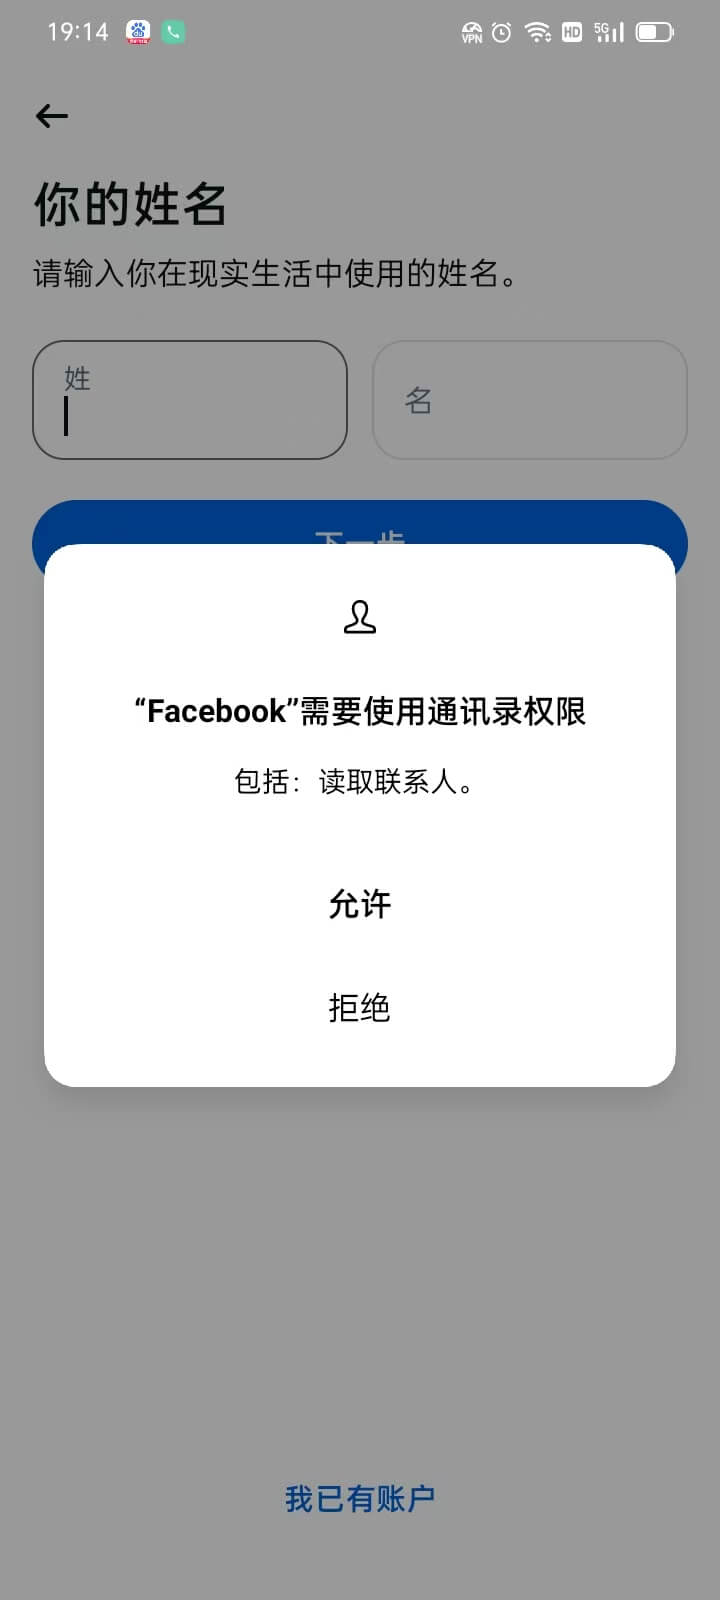
As shown in the image above, during the process of creating a new Facebook account, users are required to enter their personal name. At this stage, the Facebook app will also prompt the user for permission to access their phone's contacts. This action is designed to help Facebook automatically identify and recommend potential friends based on the user's contacts, enhancing the social experience and efficiency in building connections. Users can choose whether or not to grant this permission. If they agree, Facebook will have access to the contacts stored on the phone; however, if they decline, the account registration can still proceed, but the contact-based friend recommendations will be unavailable. This permission request is part of Facebook's effort to provide personalized services while ensuring user privacy. Users can always modify the permission settings in their phone's settings. After deciding whether to grant access to contacts and entering their name, click the "Next" button to continue with the remaining registration steps.
5、Step 5: Fill in the user’s date of birth for creating a Facebook account
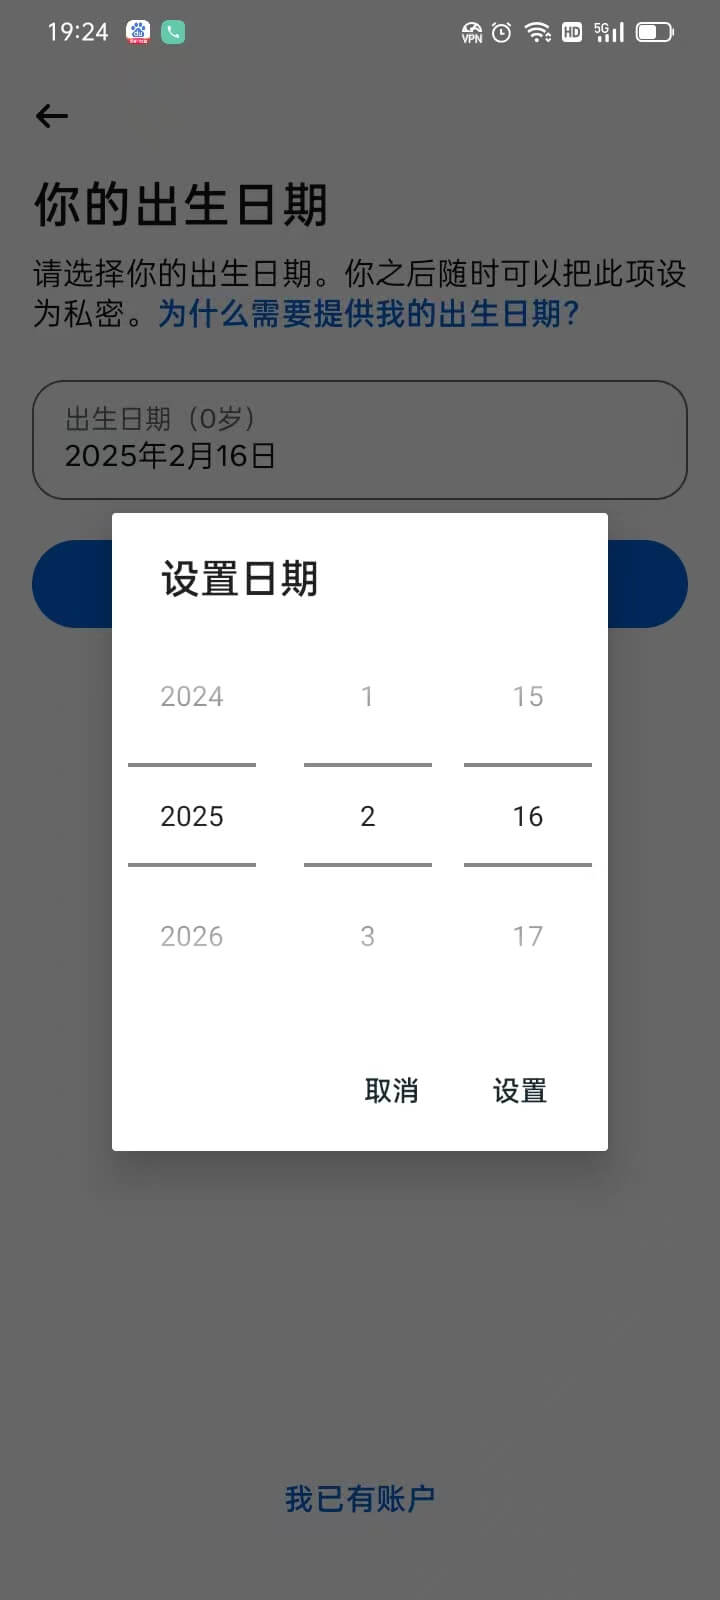
It may be because Facebook and Instagram are both owned by the same parent company, Meta, that the user interface for selecting a birthdate on Facebook and Instagram is identical. As shown in the image above, both use a numeric scroll box for selecting the year/month/day. After choosing the correct date using the scroll options, click the “Set” button. Then, under “Your Birthdate,” double-check that the date is accurate. Once confirmed, tap the “Next” button on the interface to continue with the Facebook app’s new account registration process on your mobile device.
6、Step 6: Select the user’s gender for the Facebook account
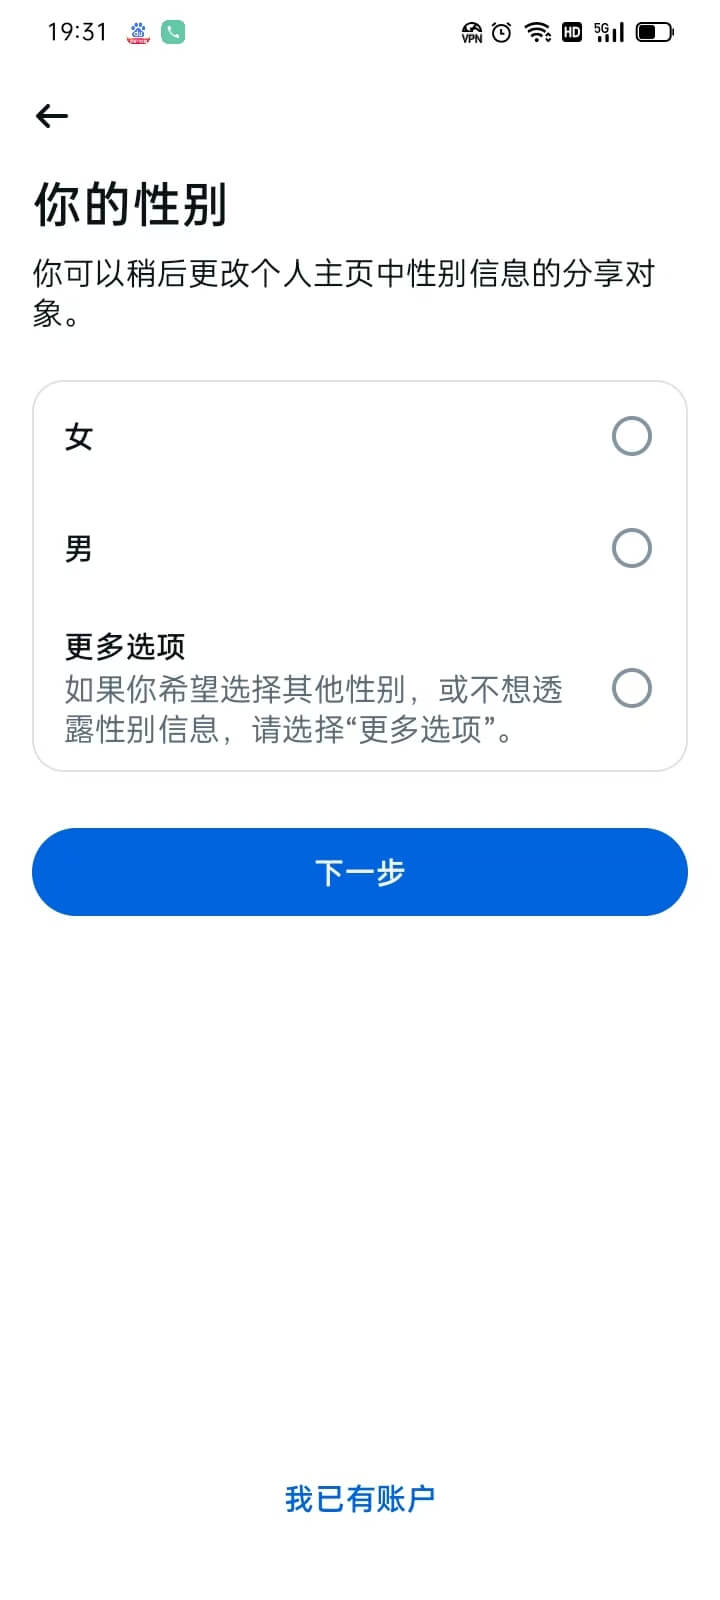
The next step in the process is selecting the gender for the new Facebook account. You can simply check the box that corresponds to your gender. There are cultural differences in how gender is understood and used in various countries. In regions like Europe and North America, gender may not be limited to just male and female options. Therefore, many international apps, including Facebook, offer options like "Non-binary" or "Prefer not to say." If you prefer not to disclose your gender, you can select the "More options" option. Once you've made your selection, click the "Next" button to proceed to the next step and continue with the registration process.
7、Step 7: Choose the type of registration information (phone number or email)
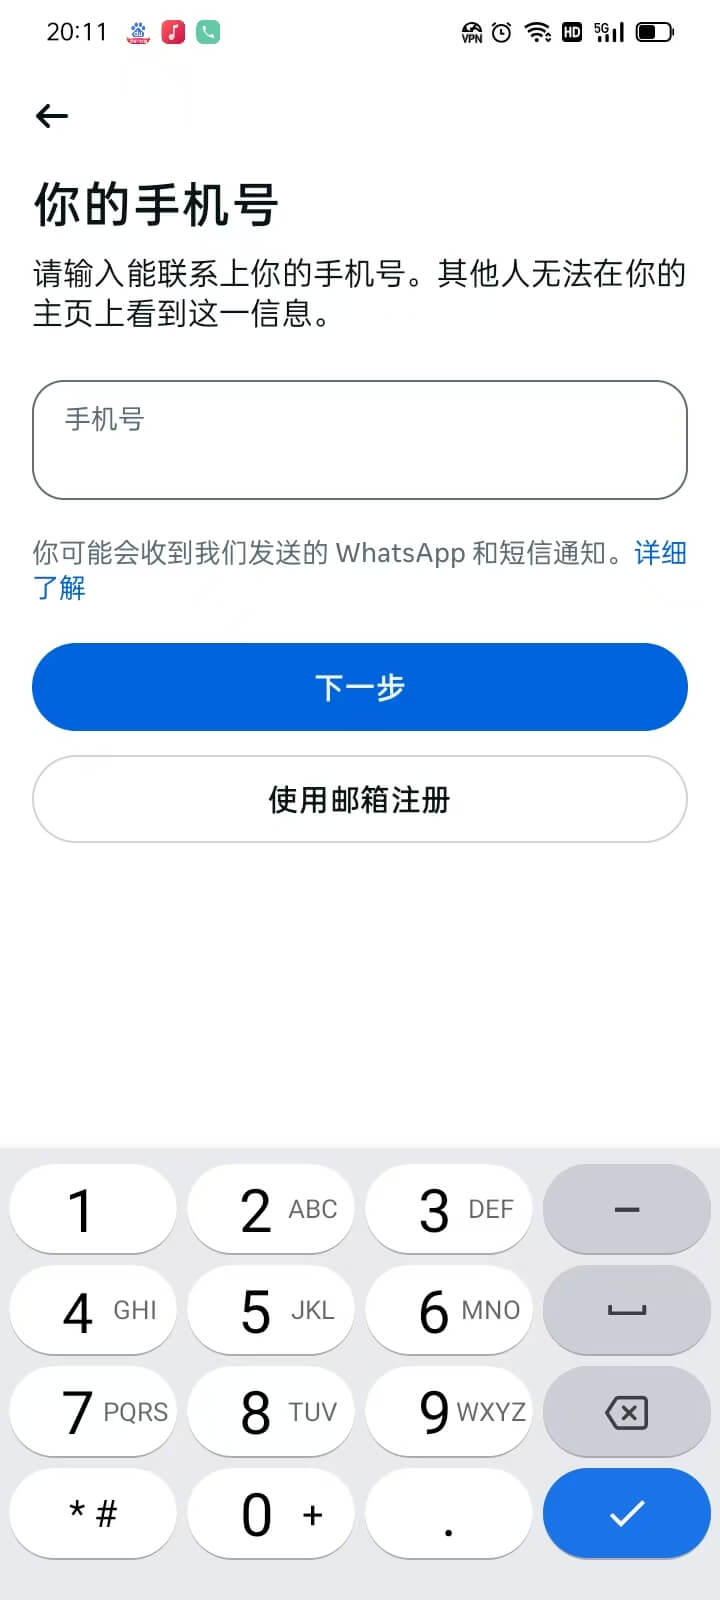
As shown in the image above, this step involves entering either a phone number or an email address for registering a Facebook account. Readers should pay special attention to choosing which type of information to use for registration. The reasons and considerations for this choice have been explained in the previous section for registering a Facebook account on a computer. Readers opting to register with a phone number might not be aware of the security risks highlighted earlier in the computer registration method. To briefly reiterate, it is recommended to use an email address rather than a phone number for registration. Additionally, avoid using domestic email providers such as QQ Mail, NetEase Mail, Aliyun Mail, or Huawei Mail. Using a phone number or these domestic email addresses may prevent you from receiving Facebook's verification code and could potentially lead to some security issues that cannot be explicitly mentioned. On this screen, click the "Use Email to Register" button, which will redirect you to the next step where you can enter your email address.
8、Step 8: Fill in the email address for Facebook registration
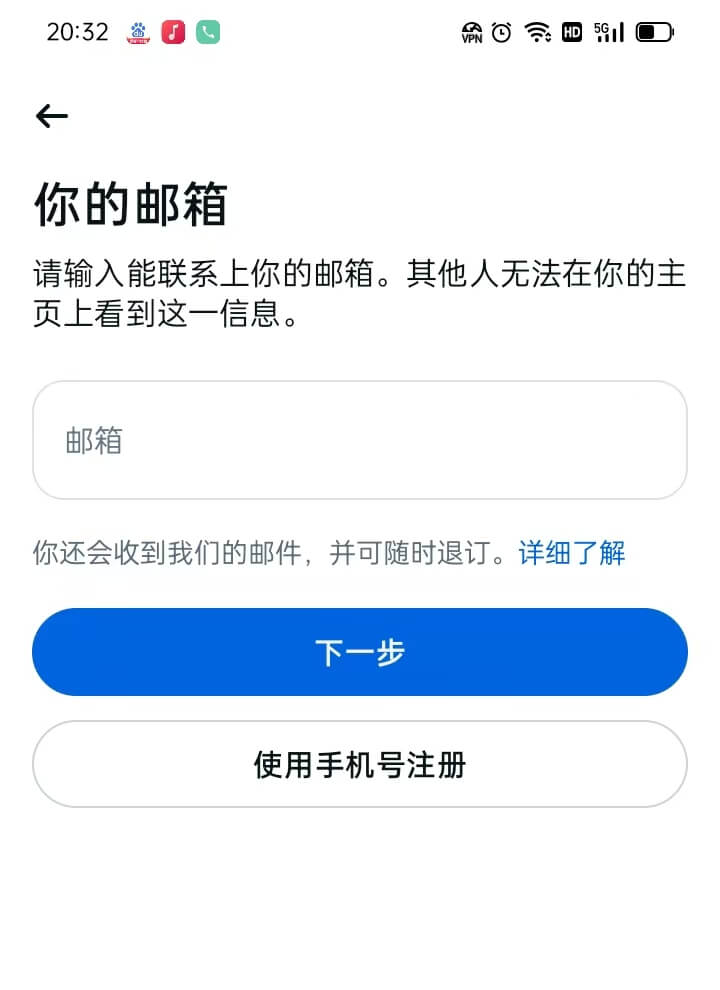
After selecting email as the registration information, the interface will redirect to the page shown above, where the user is required to enter a valid email address in the provided input field. In this step, users need to ensure that the email address they enter is correct and functional, as Facebook will send a verification email to this address to complete the registration process. Once the email address is entered, the user simply needs to click the "Next" button on the screen to proceed with the registration process.
9、Step 9: Create a password for the Facebook account

In the password input field shown above, enter at least 6 characters for the Facebook account login password. After entering the password, click the "Continue" button to proceed to the next step in the Facebook account registration process.
10、Step 10: Enter the Facebook verification code received in your registration email
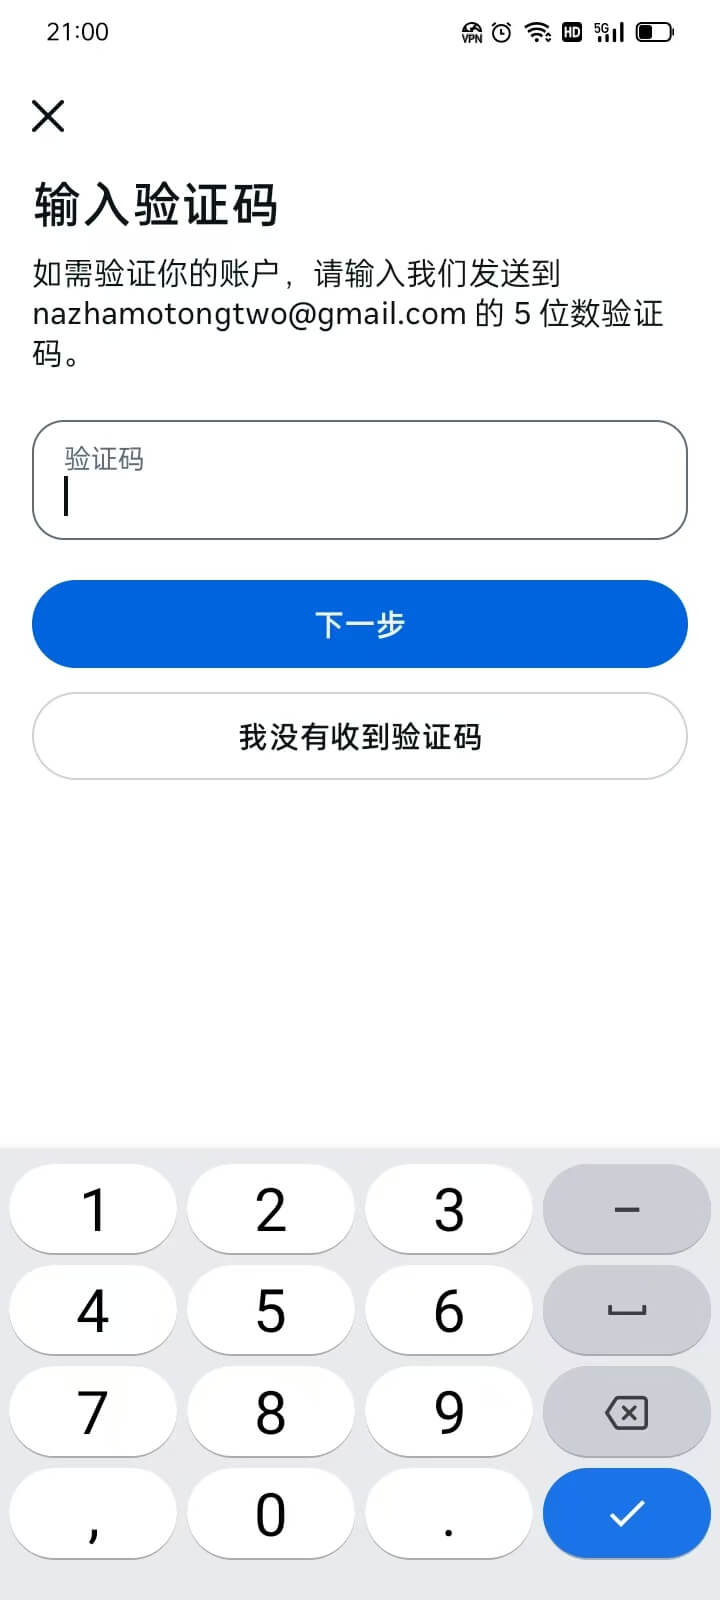
Enter the registration email address you provided in the previous step. Check your email for the verification code sent by Facebook. After finding the code, enter it into the verification code input field shown above. Once the code is entered, click the "Next" button to proceed with the remaining steps of the registration process.
11、Step 11: Add a Facebook account profile picture
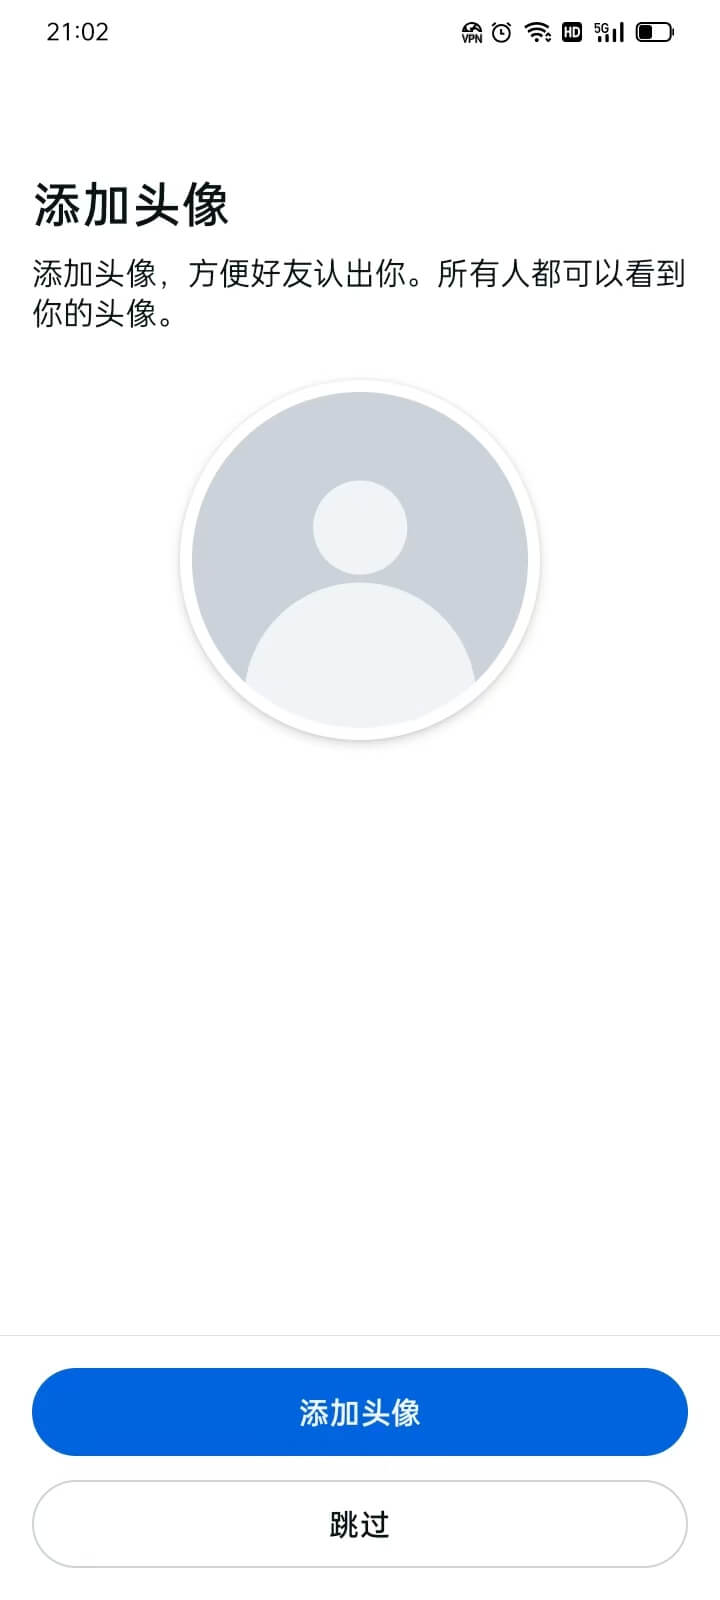
In this step, you can add a profile picture for your Facebook account by clicking the "Profile Picture" button. This will open your phone's photo album, allowing you to select an image to use as your Facebook profile picture. If you don't have a suitable image in your album, you can also click the camera icon to open your phone's camera and take a photo to set as your avatar. Keep in mind that you can update or change your profile picture anytime after your account is set up and in use. If you prefer to quickly complete the registration process and don't want to spend time adding a profile picture, you can simply click the "Skip" button to move on to the next step.
12、Step 12: Facebook contact upload function
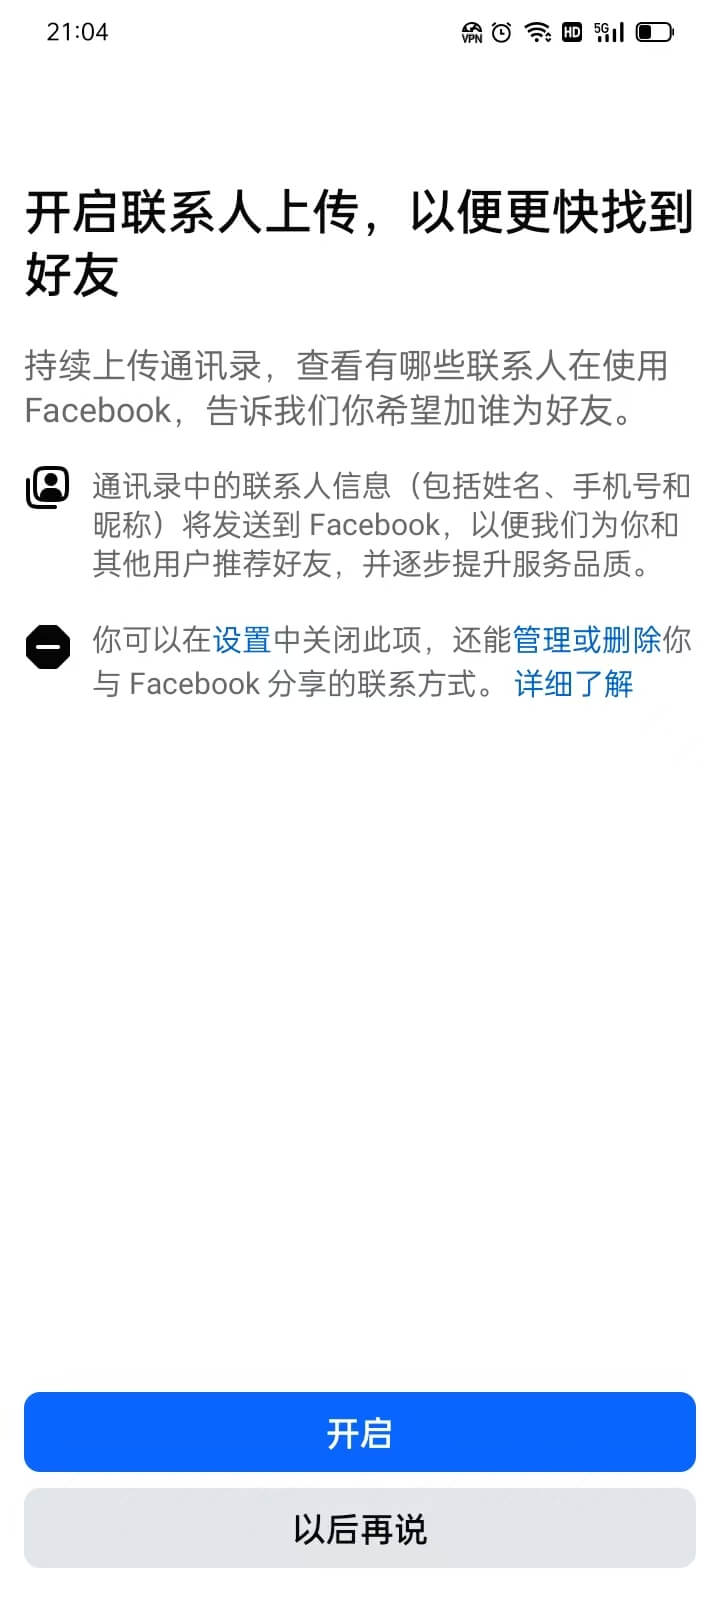
Enabling the phone contacts upload feature is an initialization setting provided by Facebook during the account creation process. Users can choose to enable this feature during registration or set it up at any time after their Facebook account is created. Once enabled, Facebook will upload the contact information (such as names, phone numbers, nicknames, etc.) from the phone's contact list to its servers. This information is used to identify and recommend people who are already registered on Facebook. Regardless of whether this feature is enabled, when users continue to the next step, the system will display a recommended friends interface. The difference is that if the phone contacts upload feature is enabled, the recommended friends list will show all Facebook users from the phone's contact list who are already registered on Facebook, allowing users to directly select and add them. If the feature is not enabled, the recommended friends list will not show any Facebook users from the phone's contacts.
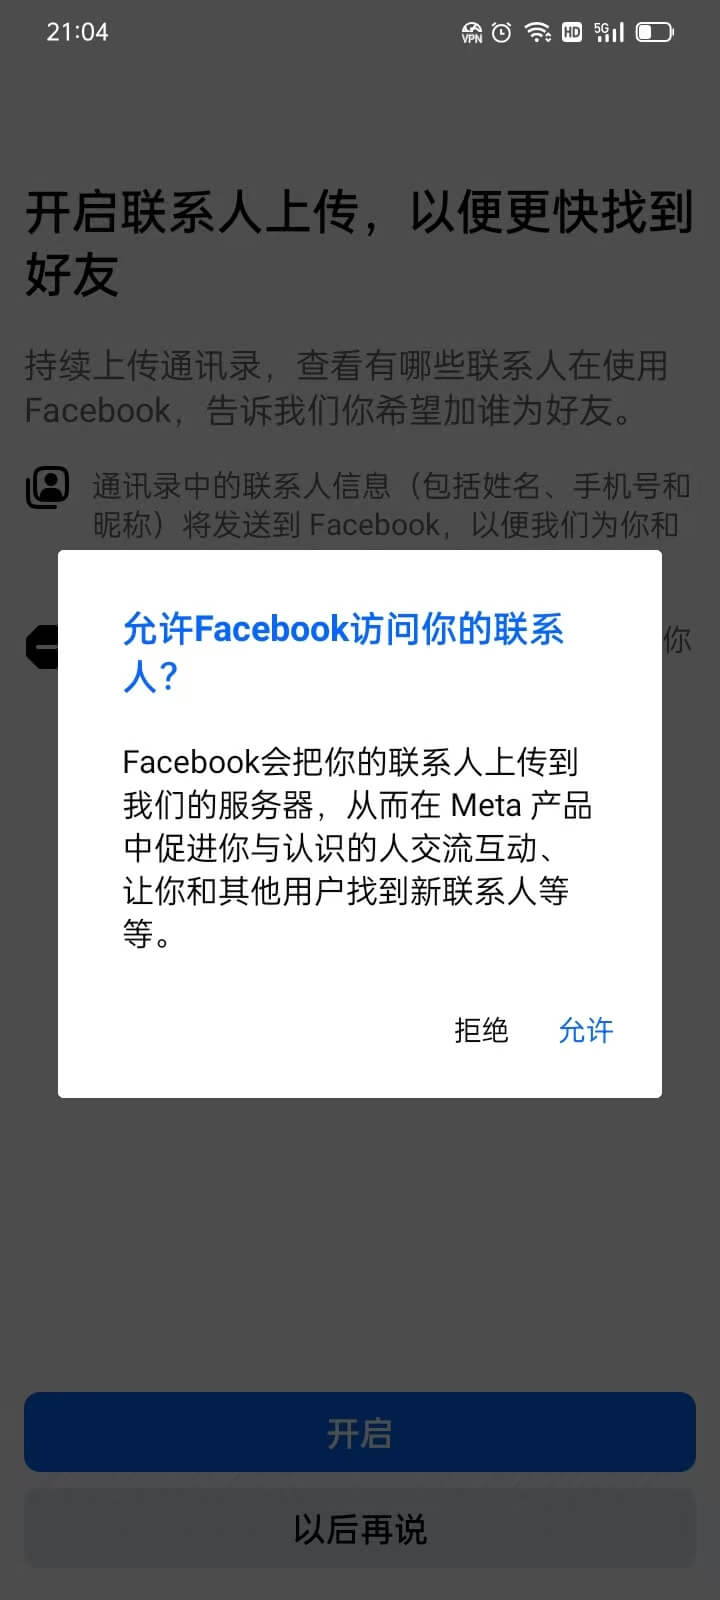
If you decide to enable this feature, simply click the "Enable" button, and a window will pop up asking for authorization to allow Facebook to access your phone's contacts. You only need to click the "Allow" button, and Facebook will gain access and complete the upload operation (as shown in the image). If you are unsure whether to grant access at this point, you can choose to click "Ask Me Later" and continue with the subsequent steps of creating your Facebook account.
Enable the mobile phone contact upload function and authorize Facebook APP to access the mobile phone address book. The following is an example of the operation window:
13、Step 13: Recommended Facebook friends from your phone contacts
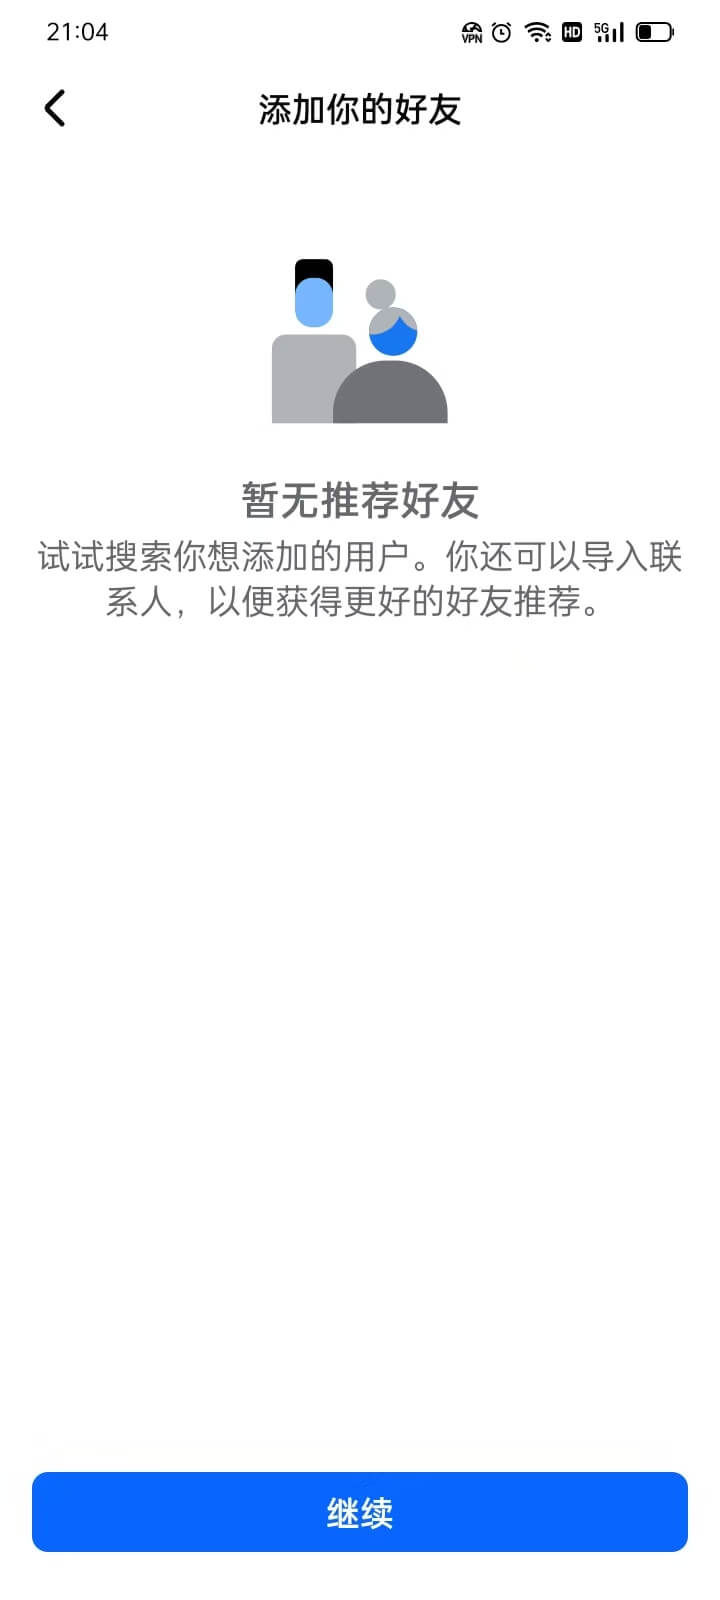
As shown in the image above, this is the Facebook recommended friends interface. As explained in the previous step, whether the interface displays Facebook users from your phone contacts depends on whether the phone contact upload feature is enabled. If this feature is enabled, the interface will display all friends in your phone contacts who are already registered on Facebook, and it will provide the option to directly add these friends. On the other hand, if the phone contact upload feature is not enabled, as shown in the image, the recommended friends interface will display "No recommended friends," indicating that no contacts from your phone's contact list will be shown. In this case, users can still search for and add friends through other methods, but contacts from the phone's contact list will not be automatically recommended.
14、Step 14: Add a phone number to your Facebook account

The decision to add a phone number to your Facebook account depends on the intended use of the account. For personal users, not adding a phone number will not have much impact. However, if the Facebook account is to be used for internet marketing purposes, it is recommended to add a phone number. Even though adding a phone number may not be required at this stage, it will still be necessary when setting up a Facebook Business account to ensure smooth activation. For marketing purposes, adding a phone number helps stabilize the account and reduces the likelihood of being flagged as a problematic account and getting banned. Additionally, it's important to note that Facebook accounts used for marketing purposes should avoid using shared networks, as shared networks are often flagged as problematic and can lead to account suspension. After deciding whether to add a phone number or skip this step, you can proceed to the next step.
15、Step 15: Facebook account notification settings

As shown in the image above, whether or not to enable Facebook app notifications depends on your preference. If you want to enable notifications, click the "Turn On Notifications" button. After clicking the button, you will be redirected to your phone's system notification settings, where you can enable Facebook app notifications. If you don't wish to receive Facebook app notifications, click the "Skip" button to proceed to the next step.
16、Step 16: Facebook account registration complete
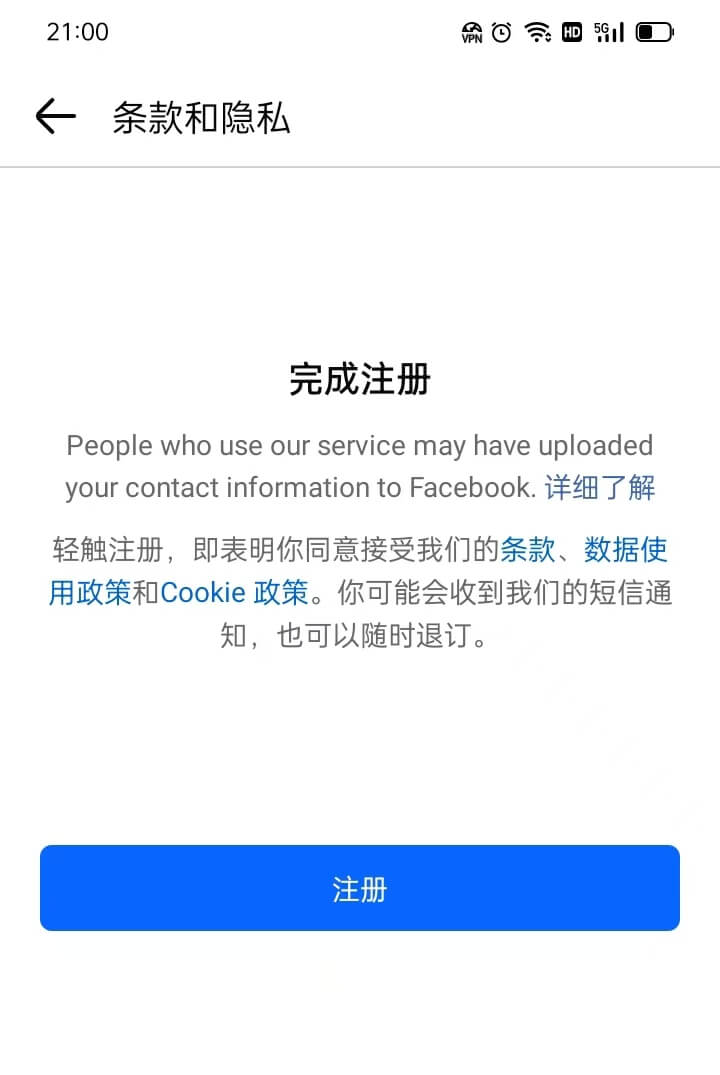
As shown in the image above, the Facebook app interface now informs us that we have successfully completed the entire process of creating a new Facebook account. In the main text of this screen, there are links to Facebook's terms of use and data usage policies. Interested readers can choose to click and read these policies one by one or selectively. Otherwise, by clicking the "Sign Up" button, the entire process of registering a Facebook account using the mobile device will be closed. The Facebook app will automatically take the user to their homepage, and the Facebook app user interface is shown in the image below.
17、Step 17: Facebook app account usage interface
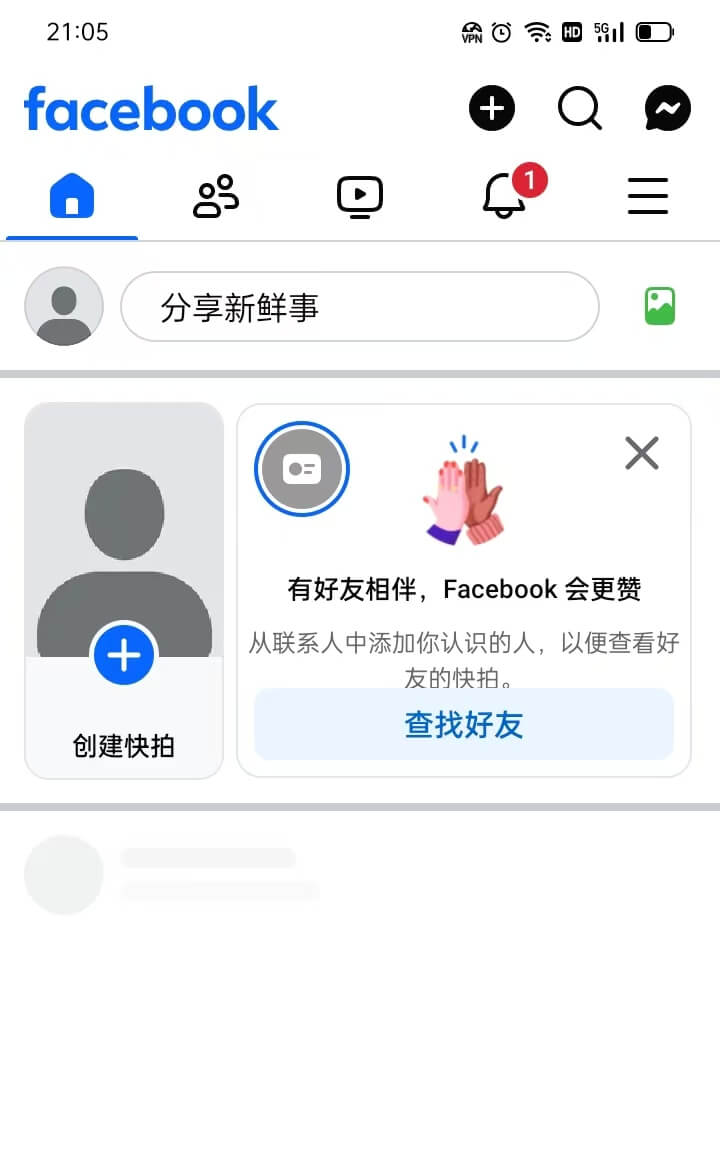
As shown in the image above, this is the main interface of the new Facebook account that the blogger successfully registered and logged into using a complete set of information. As illustrated in the image, within this account's user interface, users can see many features and options. These features cover various aspects, from managing personal profiles to social interactions. Users can try these features one by one to experience the social platform services provided by Facebook.
Conclusion: At this point, the blogger has provided a detailed demonstration of how to register a Facebook account on two different types of devices. On the homepage of a Facebook account, users will find various function entries to further explore and study, especially when it comes to customizing personal information settings to enhance the personalized experience of the account. With the registration process complete, everyone can begin to enjoy the social experience that Facebook offers and gradually become familiar with the platform's features according to their needs. During the blogger’s actual registration walkthrough, a clear difference was observed in terms of operational convenience between the two types of devices. When registering on a computer, the entire process is relatively simple, with fewer steps, making it significantly more efficient. This is particularly suitable for those who use Facebook as a marketing tool, such as Website Operators. Website operators typically use laptops or desktop computers for work, and in some cases may need to manage multiple Facebook accounts, run ads, or engage in social media marketing. Computer-based registration undoubtedly offers greater convenience and professionalism to meet these needs.
However, for personal users who are not using Facebook for business purposes, their personal computers may not have internet access. In this case, mobile devices become another option for registering a Facebook account. Even so, completing the registration through a mobile device is equally feasible. By following each step provided by the blogger, users can still successfully create a Facebook account. Whether using a computer or mobile device, the ultimate goal is to successfully complete the registration process and seamlessly use the Facebook platform.
Finally, if your purpose for registering Facebook is to use it for marketing your cross-border e-commerce website, and your website is still in the planning stage, whether you need professional answers regarding web design or functional development, or wish to obtain a project development quotation plan, feel free to Contact the Logic Digital Technology Team. Logic Digital Technology specializes in WordPress Website Development and technical services. If you need to outsource the design, development, and implementation of your website, we will provide you with efficient and professional solutions to help your cross-border e-commerce business succeed.
This article is copyrighted by Logic Digital Technology (SZLOGIC). Personal sharing is welcome to help more users who need to register for Facebook. Unauthorized use for any commercial purposes or reproduction is strictly prohibited.